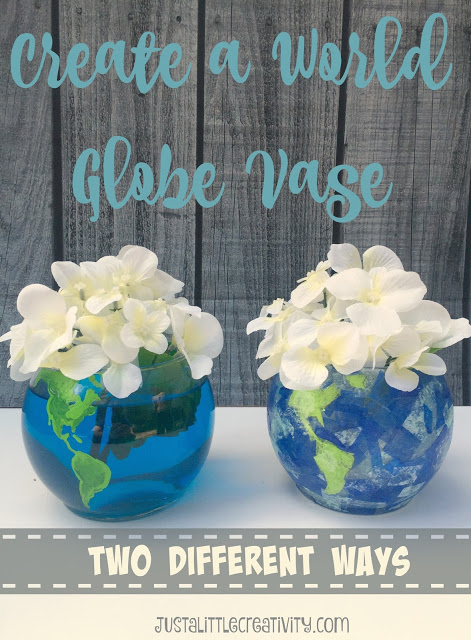
I originally shared this world globe project just in time for Earth Day with the readers at A Glimpse Inside blog as part of the 2016 Creative Team over there.
If you’re a regular here at Just a Little Creativity, you know that I really enjoy sharing projects for kids. But, I know that sometimes the grown-ups want fun projects too. So, that’s why I’m presenting this tutorial two ways (one for you, one for the kids)
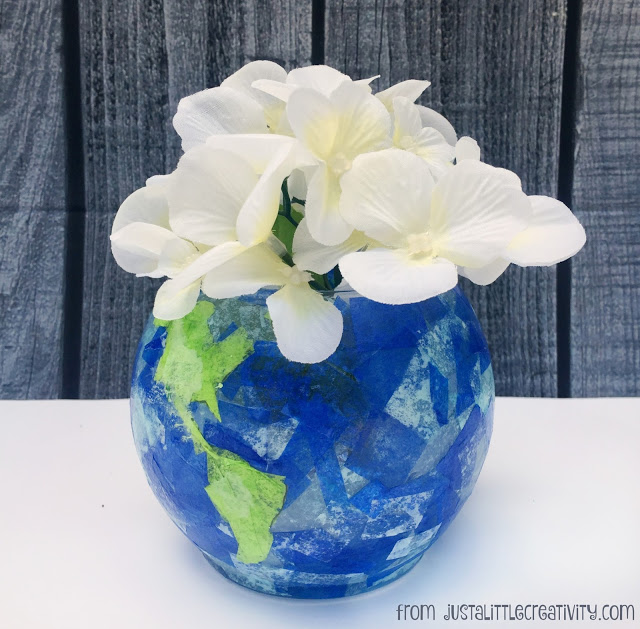
Most of us made these tissue paper vases at some point when we were little and had tons of fun doing it. With the right color tissue paper, your little one can make theirs into a globe!
Supplies-
Mod Podge or watered down white school glue
A globe shaped vase (I found mine for $1 at Dollar Tree)
Tissue paper in shades of green and blue (also found at Dollar Tree)
Scissors
Paint brush

First, cut or tear your blue tissue paper into small pieces.

Apply Mod Podge or glue liberally to the glass.
Add tissue paper with your fingers or pick up with the sticky paint brush.
Brush more glue over the tissue paper to seal it well onto the vase. Don’t worry, it will dry clear.
This is the water portion of your world globe.

Let that layer become mostly dry, and and apply your green for the land portion of your vase.
I traced the approximate shapes of the continents, but your little one doesn’t necessarily need to do this. Just show them where to place the green (even sketch the continents onto the vase with a marker if you want) and let them glue the green for land in a similar mosaic style as the blue.


When it’s dry (which is usually in just a few hours) your little one will be so proud of their mosaic world globe vase!

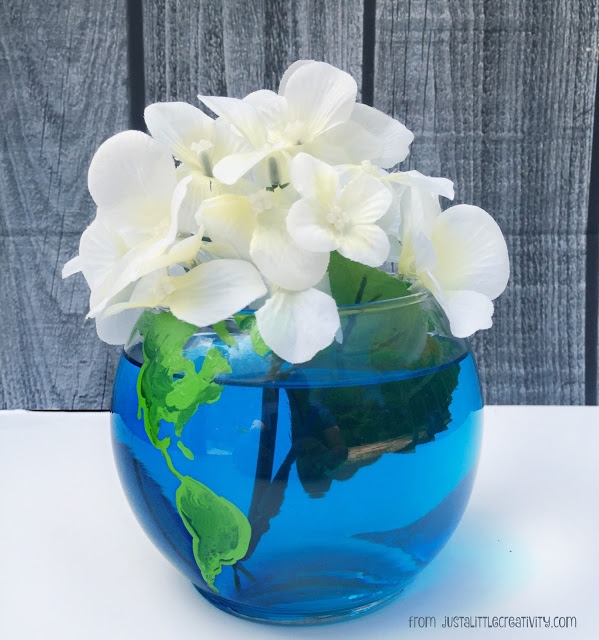
This option requires a more steady hand than most kids have, so I recommend this for teenagers and older.
Supplies:
Craft glass (enamel) paint in green (my favorite brand for painting on glass is FolkArt because it’s not very opaque. For this project I used Evergreen and Lime Green)
A world map printed to a small size (I found mine on Google & printed it on my home printer)
Small paintbrush

First, print your map, cut it out, and tape it inside the vase so you have an outline.

Then, starting with the lighter of the two shades of green, simply paint the outline of your continents.

For added depth and dimension, add your darker shade of green and mix the colors a bit.

And here’s the really cool part…
Once the glass paint is dry, add water to your vase and a drop of blue food coloring!
Now you have crystal clear blue water that makes your green land pop.
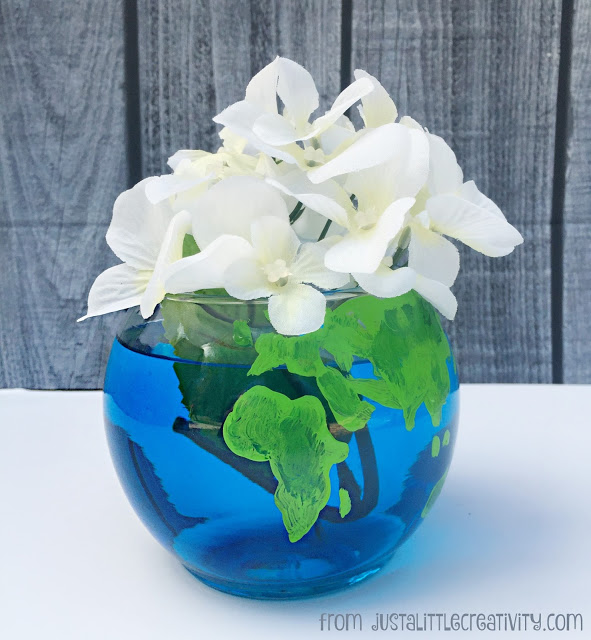
Paired side by side, they look great together.

I’m not even sure which is my favorite because I love them both, how about you?

Love these!!! Thanks for sharing with us at Brag About It! Pinning and sharing!