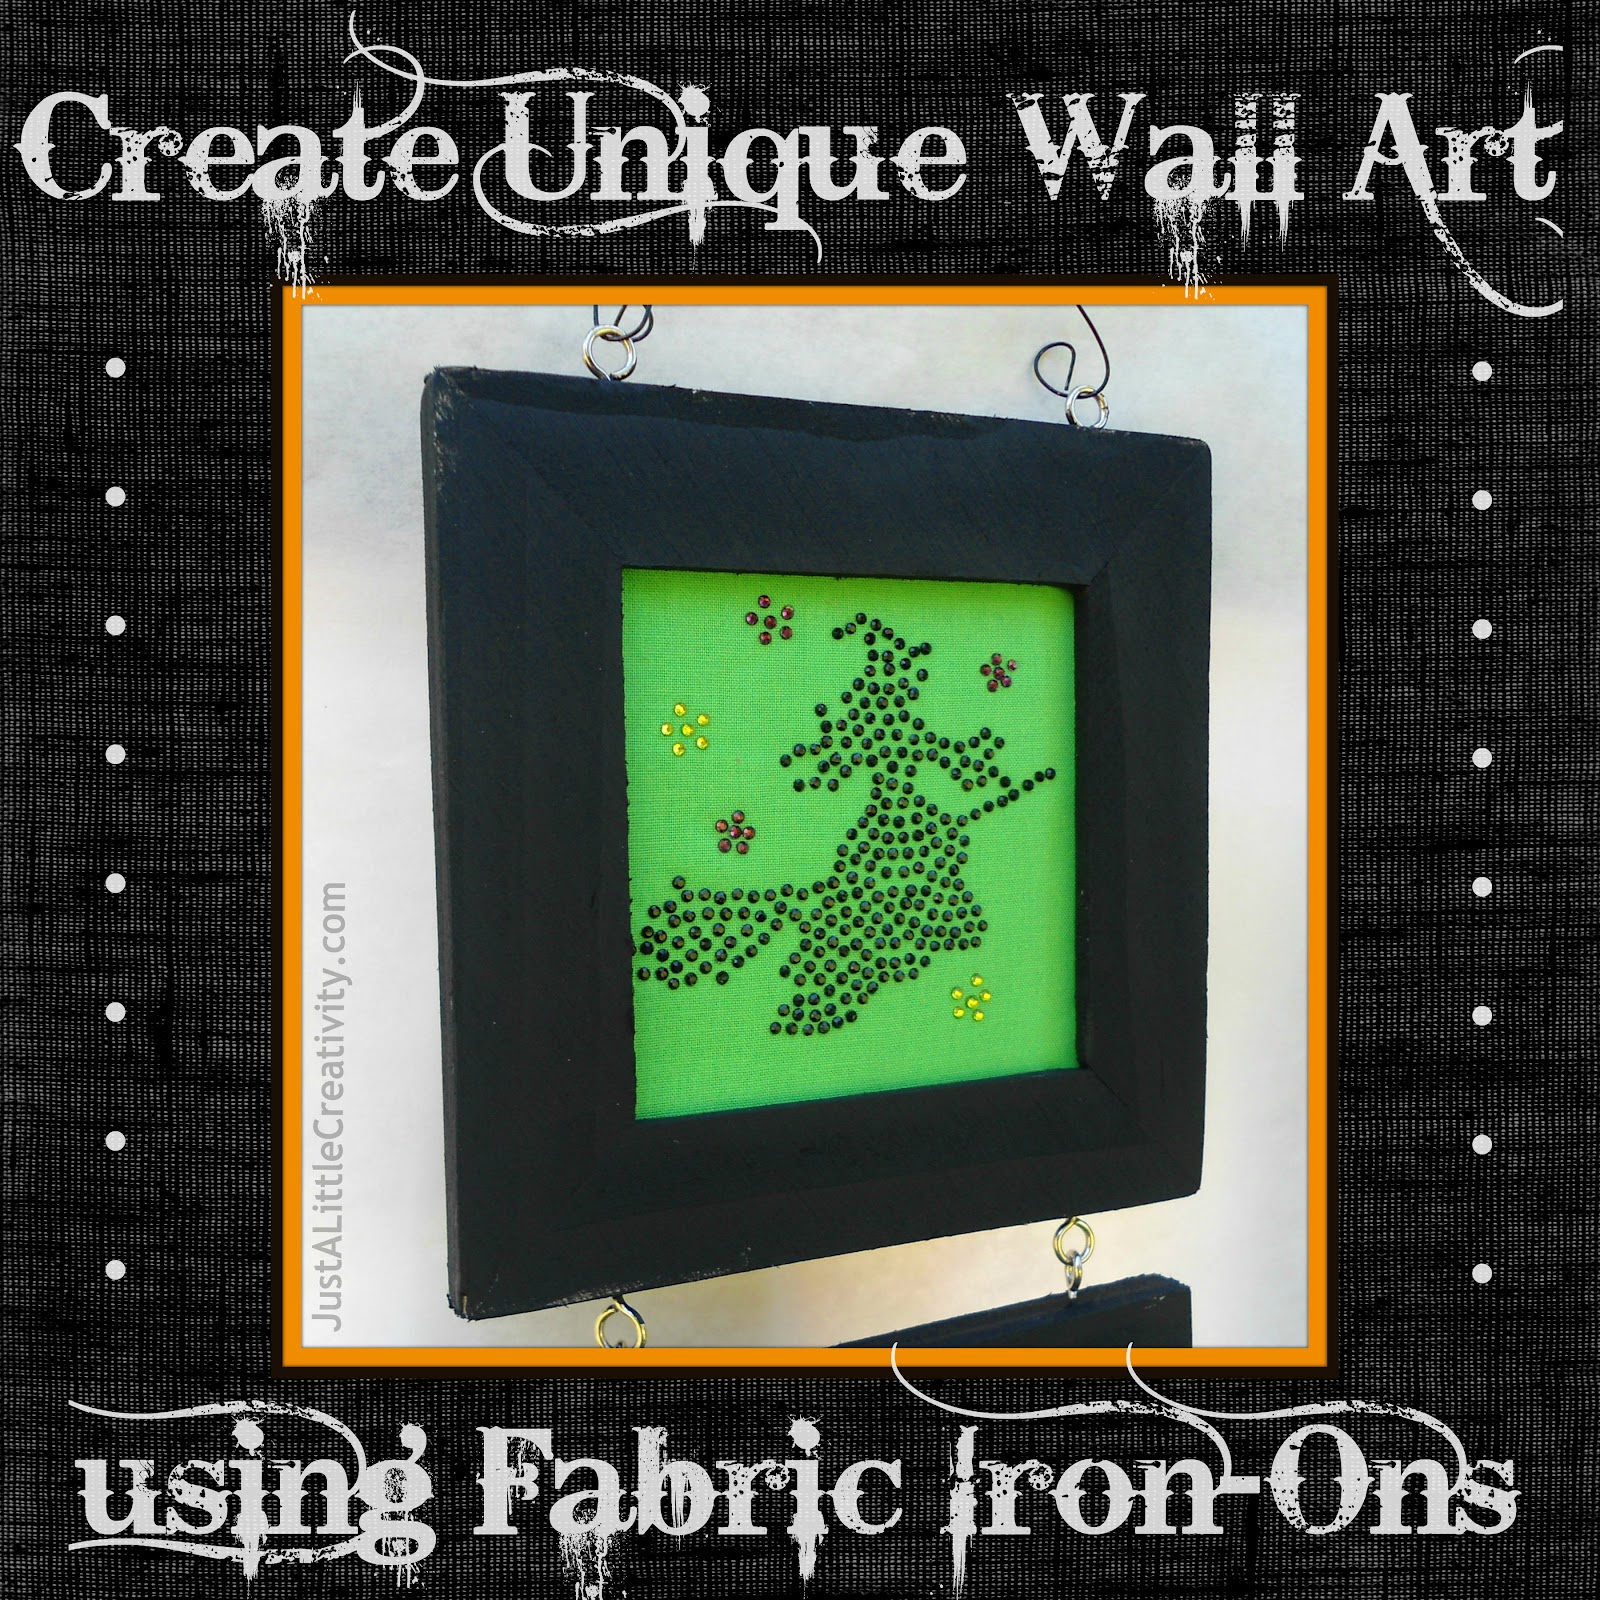
This year, I wanted a clever piece of art for my home for the Fall, and with a few simple crafty items, I was able to put together the perfect piece.
Using three of the sparkly Tulip® Glam-It-Up Iron-On Fashion Designs from iLoveToCreate and a few other crafty items, I put together a unique piece of seasonal wall art that was so easy, I’m confident anyone can make it.
Besides, no one ever said that fabric iron-ons could only be used on clothing!
Here’s what I used-
- Tulip® Glam-It-Up fabric iron-ons
- Set of three unfinished wood frames. Mine link together and hang, but you could use any type of frames you like
- Black paint & brush
- Green fabric remnant


First, I popped out the backing that comes with the frames, and used it as a template to cut squares from the green fabric. Cut them a bit larger than the backing piece, so that you can attach it later.
Then, I centered the iron-on to the middle of the fabric square, and simply followed the iron-on instructions, which were very easy.

Next, I folded over the extra fabric and hot glued it to frame backing.

Last, I used the black craft paints and painted the frames.

I popped the fabric squares into the frames, and I was finished!


Pretty cool, right?
If you like this project, here’s a special sneak peek at another fun project I’ll be
posting a bit later this week using the Tulip® One-Step Tie-Dye Kit from
iLoveToCreate.
Can you guess what it is? Yes? No? Maybe? Well, you’ll just have to come back and see…

For even more from iLoveToCreate, find them on these social sites-
Web
Facebook
Twitter
Pinterest
And for even more inspiration from other bloggers around the web using the awesome goodies at iLoveToCreate, you can click through these links-
This project has been featured-

I wrote this post as part of a paid campaign with iLoveToCreate and Blueprint Social.
As always, my opinions in this post are 100% my own. If you’d like, you can read my full disclosure policy HERE.

Like what you’ve seen? Follow along








Way cute! Such a creative way to use those iron ons. Looks like a fun and easy project.
That is so cute!! Great job!! 🙂
These are just adorable! Love it!
very fun!
Very cool! Pinning this 🙂
I love seeing all the posts! 🙂 Great job!
Such a clever idea to use fabric iron-ons to make wall art for Halloween! Your framed art came out great, and I'm sure it's doing its job of getting you excited for the holiday. Can't wait to see your next Halloween craft!
How cool is that? Thanks for the neat craft ideas. I sure can always use new ones.
Cute! It looks so easy, too! You have the best craft ideas!!
Super cute and I love it!. 🙂
Very cute! It looks fairly easy but a great piece. If you get a chance I would love for you to come link up at my Halloween Pin Party.
http://sarahdawndesigns.blogspot.com/2012/10/pintastic-monday-halloween-edition.html#.UGnXXq4-WnD
Very cool! And, it looks like something that I can actually replicate 🙂
Such a fun take on how to use iron ons! Love it
Hello! Just stopping by from thursday favorite things blog hop! I am now following! Would love to have you visit!
sarahseay92.blogspot.com
What a fun decorating idea! I love those 'decorations' that look a little more chic! This would be perfect!
Those are so cute! I love how you used them for wall art. Awesome!
Excellent idea! I love it. It is really amazing. So creative!
WallTapestry.com
You can create wall art sing fabric irons on. It is very useful article.
Hunter Douglas
Very cute and unique!! I think I'll have to try my hand at this one! Found you over at The Blackberry Vine Link up. 🙂
What a cute idea. These are awesome.
Thanks for sharing with us at our Thursday Favorite Things Blog Hop
Angel
Cool idea!
This is a super creative idea! I think I'll let my teen girls try this. Please, please share this at my new link party, Stylish Friday Finds! My readers would love this tutorial!
http://www.astylishinterior.com/2013/09/new-link-party-stylish-friday-finds.html
What a cute project, very creative of you to use this for your home decor!
I linked over from the Homemade By You Link Party where I am participating too and would love it if you'd stop by.
Hugs, Antonella 🙂
These are super cute – what a great idea! Thanks for sharing on Tell Us Tuesday!
Lauren @ muchadoaboutsomethin.com
This is such a great idea! Love them!
Thanks for linking up to this week's Catch a Glimpse Party. I'll be featuring this tomorrow! 🙂