
When I found this sturdy but not so cute toy box at Goodwill recently, for only a few dollars, I just knew it was a diamond in the rough. So, I did what any good DIY-er would do, and snatched it up. I knew I didn’t want to tackle a complete new paint job, so with a little inspiration from one of my favorite craft books, Mod Podge Rocks!: Decoupage Your World, I decided to spray paint the inside and cover the outside with an absolutely gorgeous wrapping paper using Mod Podge.
As you can see from the before & after shots, the results are pretty extraordinaire.

Supplies-
- Krylon Dual paint & primer in white
- Krylon indoor outdoor in Ocean Breeze
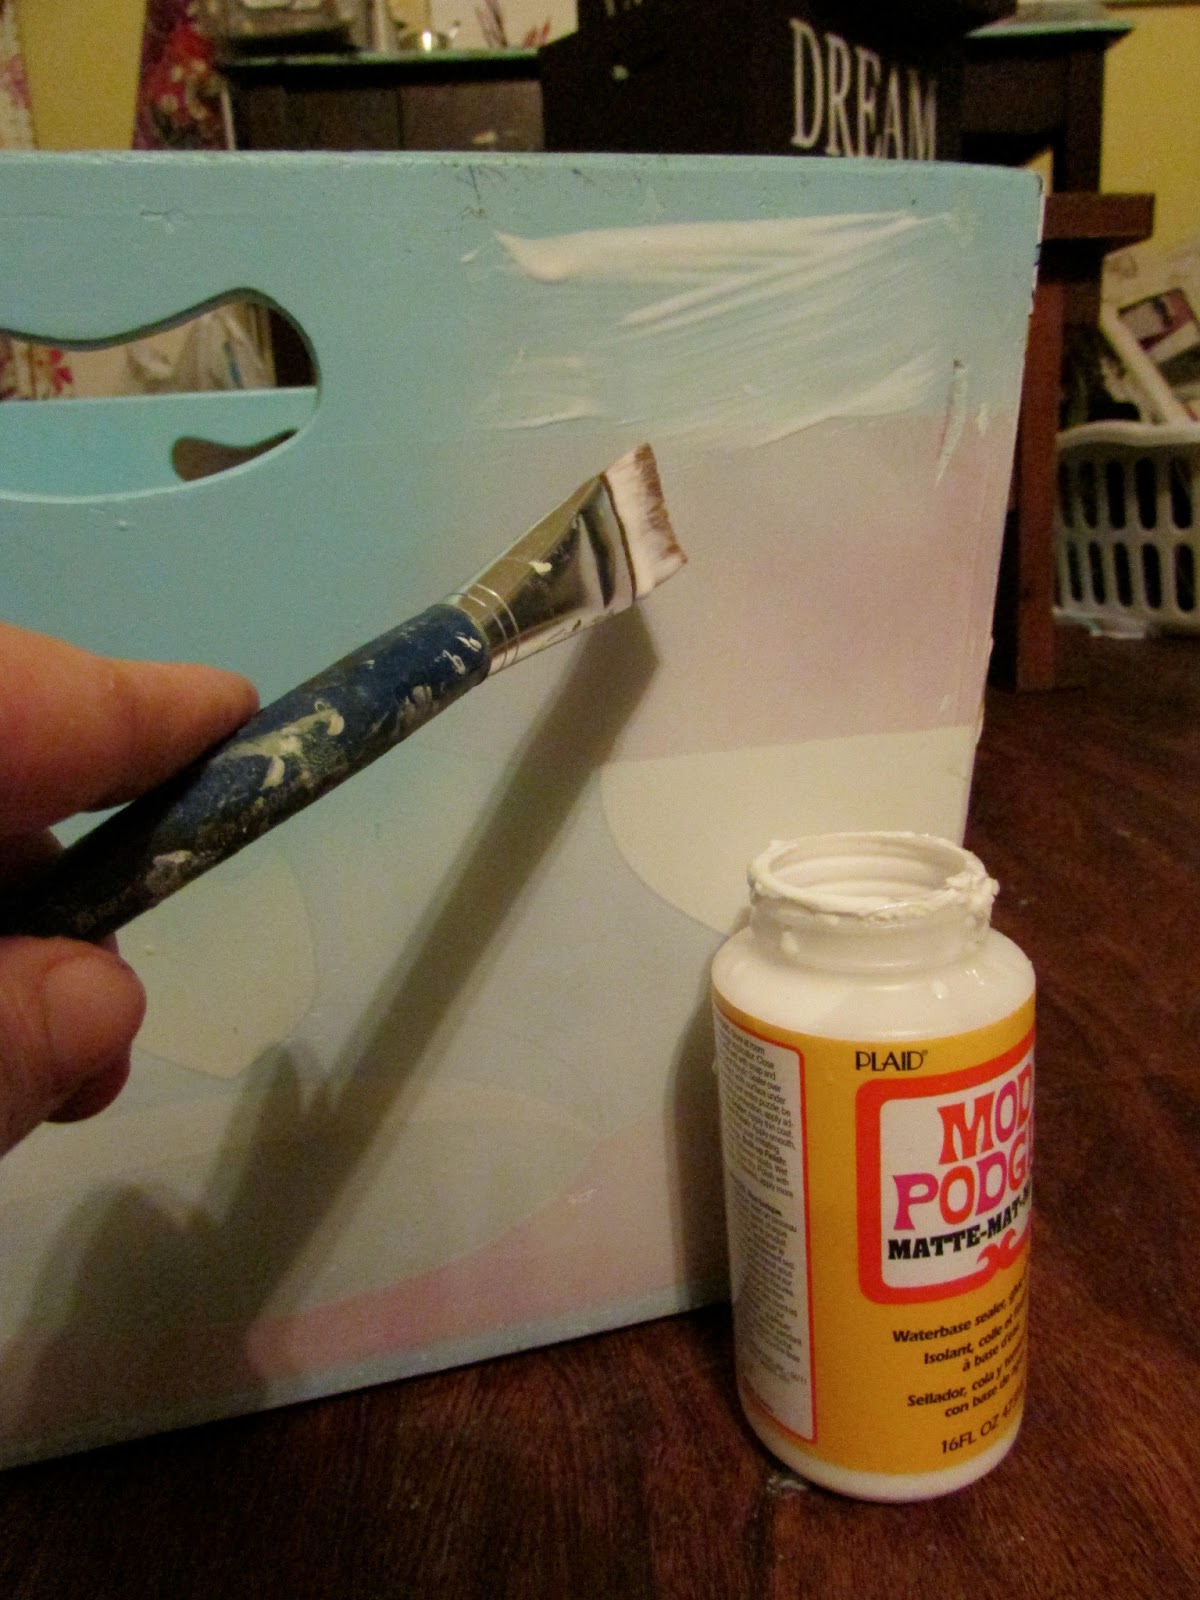
- Mod Podge Matte
- Wrapping paper
- Clear coat acrylic spray
- scissors
- paint brush

First, I dusted the box, and gave it a good two coats of the white primer paint combo. Then, I used the Ocean Breeze blue on the inside (sorry, forgot to snap a pic). I didn’t even tape it off, because I knew the outside of the box was going to be covered, so I wasn’t worried about being perfect with the paint.

Once I let that dry, I traced the outline of each side on the back of the wrapping paper, and cut it out. I cut just a little smaller than the outline, and it gave it a perfect fit.

Next, my favorite part, the Mod Podge! I just used a paint brush to apply a medium coat of the glue, and applied my paper a little at a time, smoothing with my hands as I went. I’m not an expert Mod Podger by any means, and because this paper is on the thinner side, yes, I did get a few wrinkles. But, I just didn’t stress over it, because you can’t really see them anyway.

Once that coat was dry, I applied two more coats on the outside of the box, as well as a coat of the clear acrylic spray, letting each coat dry in between applications.


That’s it.
Mod Podge isn’t just for little arts and crafts projects.
So far, this little beauty has held up quite well. I hope this inspires you a bit. Don’t throw out that outdated piece, just give it an update with a little paint and podge.


Like what you’ve seen? Follow along

What a wonderful idea. I gotta try this one on my girls' toybox.
Adorei a idéia de transformar uma simples caixa de brinquedos. Abraços. Natalia/Brasil.
I love it! You never find toy storage that looks that pretty…nice job!
Christy
http://www.confessionsofaserialdiyer.com
New follower here. Ah, the wonders of mod podge. Your transformation looks awesome!
Love the wrapping paper! I've used Mod podge to cover Diaper boxes with scrapbook paper.
Oooooooooohhhh! I'm SO loving that! Nicely done!! So glad you shared it at Shine on Fridays.
That looks great. That was a smart solution for how to beautify it using decoupage.
What a great project, Molly!! I love it. Thanks for linking up to Tasty Thursdays. This post will be featured this week. The party will be live in a few minutes. Thanks, Nichi
Hi Molly-
Love this idea. Your color choice is gorgeous…I wish more people would see the beauty in what normally gets tossed aside!
I'm pinning this to my she's crafty board and featuring you tonight at Creative Juice.
Have a lovely night,
Nicolette
Hello,
Just wondering where you bought this wrapping paper?
Thanks,
Grace