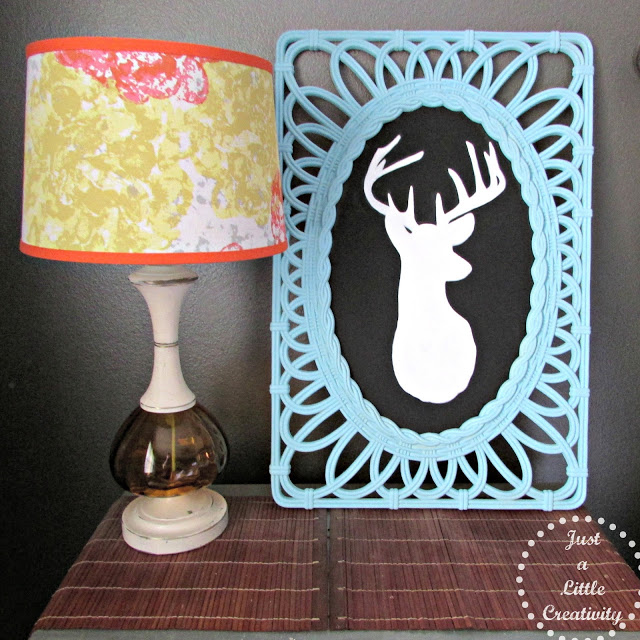
Is anyone else loving the funky deer wall art right now?
I don’t know why I like it so much, I guess it’s just a little off beat yet on trend.
Plus, the deer is actually a very elegant creature, their form is really quite sculptural (and that my friends, is my philosophical opinion on the subject of why I like them).
But anyway, I really love these paper mache animal sculptures from West Elm.but don’t want to shell out the $99 plus shipping to hang it in my house.
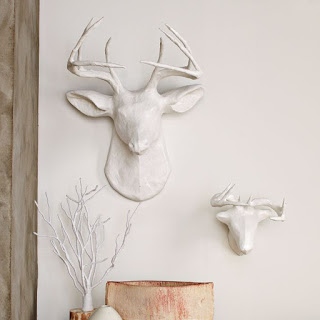
So without spending a fortune, I wanted to create a unique art piece for my own home featuring said deer silhouette.
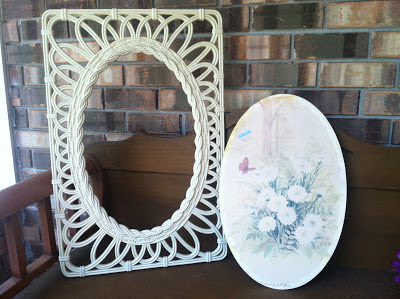
My daughter Arah and I were out thrifting recently, and noticed this vintage white plastic frame and cardboard print. I know I’ve passed up these things a hundred times at Goodwill, but for some reason it caught my eye this day. I think this plastic art was trending around mid-century, maybe even early sixties, but I’ll admit, while I like almost all things vintage, this look has just never done it for me.
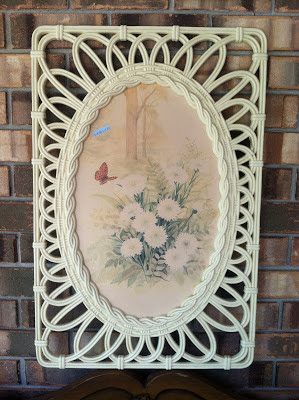
However, we really liked the shape and design of this frame, so for only $4.99 I took it home, knowing that I could rework something special on it.
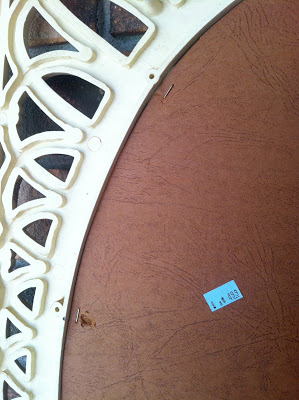
Once I got it home and pondered, brainstormed, and schemed a bit, we decided it would be the perfect piece to paint and use for the deer head.
First, I took it apart, which was easy because it was only stapled in the back.
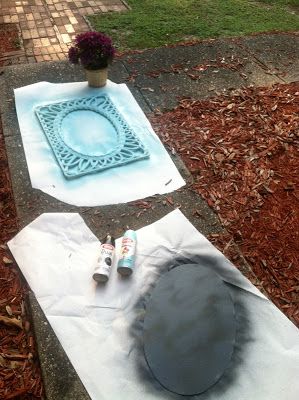
On the plastic, I decided spray paint was going to be the best way to tackle the painting. Using my favorite Krylon Blue Ocean Breeze, and black, one coat and a little areas of touch up did the trick.
Next, I googled deer silhouette, found one I liked, and printed it. I had to do it in two sheets and overlap them to get the right size, but it worked fine.
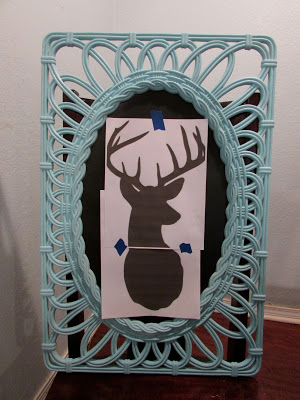
Once I taped the printed paper to the frame, I traced it with carbon tracing paper.
I admit that I had to push really had to get a line that I could see since the image from the tracing paper is black, and this was going onto a black background.
Once I had an image I could see, I outlined it with my white paint pen.
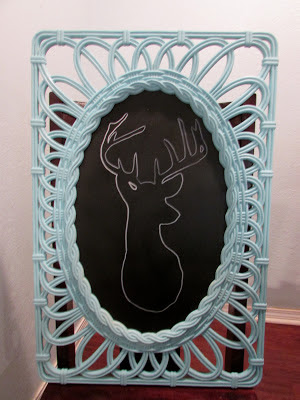
Next, I painted it in with regular white craft paint. Naturally, I had to use several coats over the black.
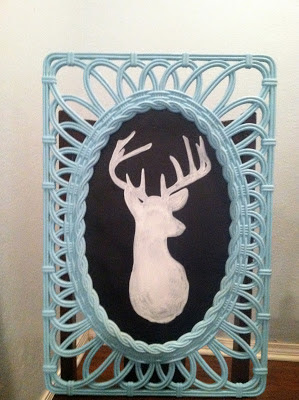
Once that dried, I was finished!
As a reminder, here’s a classy before and after pic.
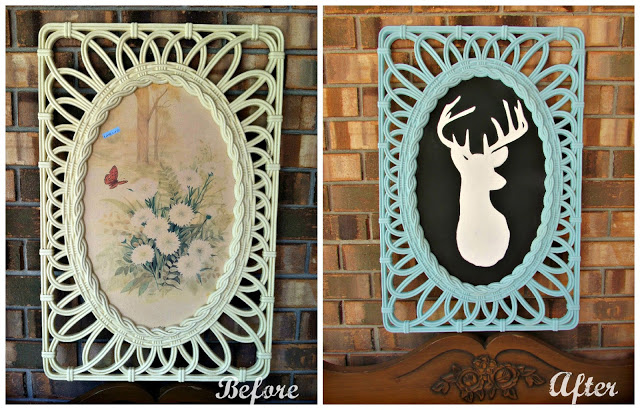
That’s it! Time to display.
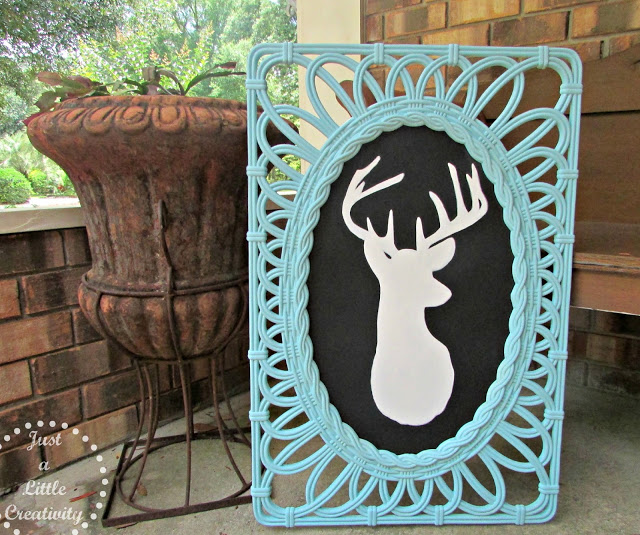
I think I may hang it in my craft room, but I could also see a piece like this in a nursery, kids play room, funky rock star loft…. yeah. That’s totally what I would do, if I were a funky rock star.
Be inspired, go forth, and create!


I absolutely LOVe this!! I am gonna have to try this out!
Love this. Thanks for the easy step by step. I want to try this for the kids rooms
Great Ideal!! it is super cute!
OMG, cute! I'm helpless in the home and will be back here for more pointers!
What a fun frame!
Wow! Cute idea! I love the color of the frame.
What a great picture frame! I love what you did with it! Very unique!
This looks awesome!!! We would love it if you would link up at our linky party:
http://www.lifewiththecrustcutoff.com/two-girls-and-a-party-linky-party-21/
Live every Wednesday to Sunday.
Hosted by:
http://www.lifewiththecrustcutoff.com/ Parrish @ Life with the Crust Cut Off
http://thissillygirlslife.com/ Dana @ This Silly Girl’s Life
We hope to see you there!
I just wanted to let you know that I featured your wonderful project on homework. Thanks so much for sharing it on The Inspiration Board. Have a great weekend!
carolyn
homework &
DETAILS
very creative!!!!!!! Thank you for sharing at the hop xo
I would never have thought to do that, it looks great.
Awesome.. You nailed it! 🙂
now that's just one awesome upcycle!