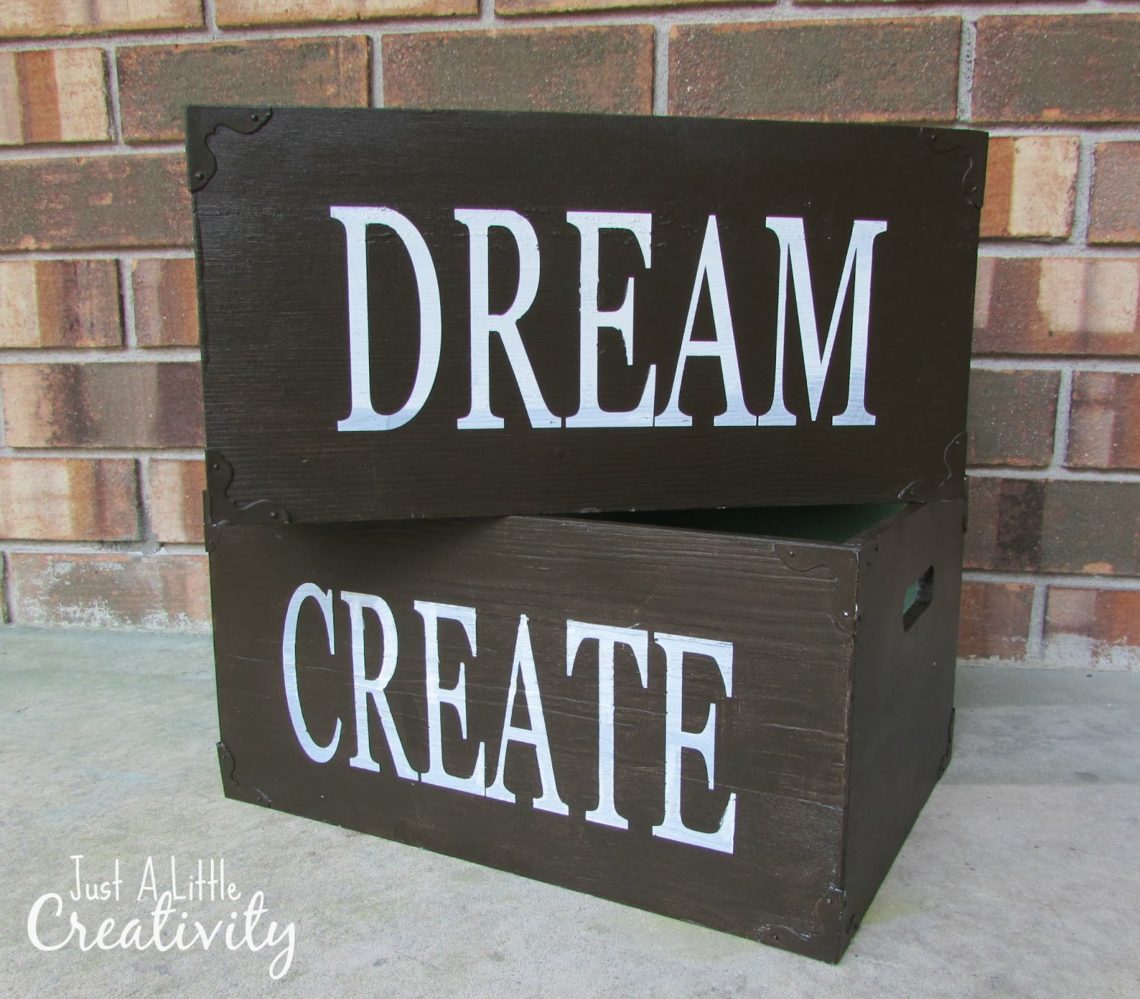
I’ve always loved using wooden boxes and crates around my house for storage. They’re great for toys, books, blankets, crafts supplies, well pretty much anything. You can find them at any craft store. I recently found a set of two at a Goodwill for only $4. I knew that was a good price and I could customize them for my space.
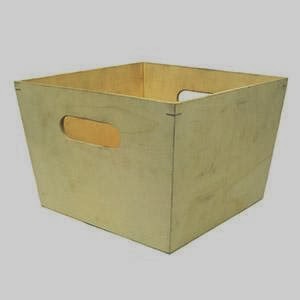
When I picked them up, I forgot to snap a pic, but they were primed in grey on the inside and had a sloppy coat of brown on the outside. Because I forgot to take that pic, I just found one online that is similar to what these originally were.
 |
| Source |
For my makeover, I used my reserve sticker stencil process, which you can see HERE and HERE.
For all the details of this process, be sure to check those two posts out. In the meantime, here’s an abbreviated version.
First, base coat your box in the color you’d like your letters to be. In this case, painted a coat of white over the ugly brown that was on them.
Then, place your letter stickers over the base coat. I cut some using my Silhouette, but you can find vinyl stickers almost anywhere these days.
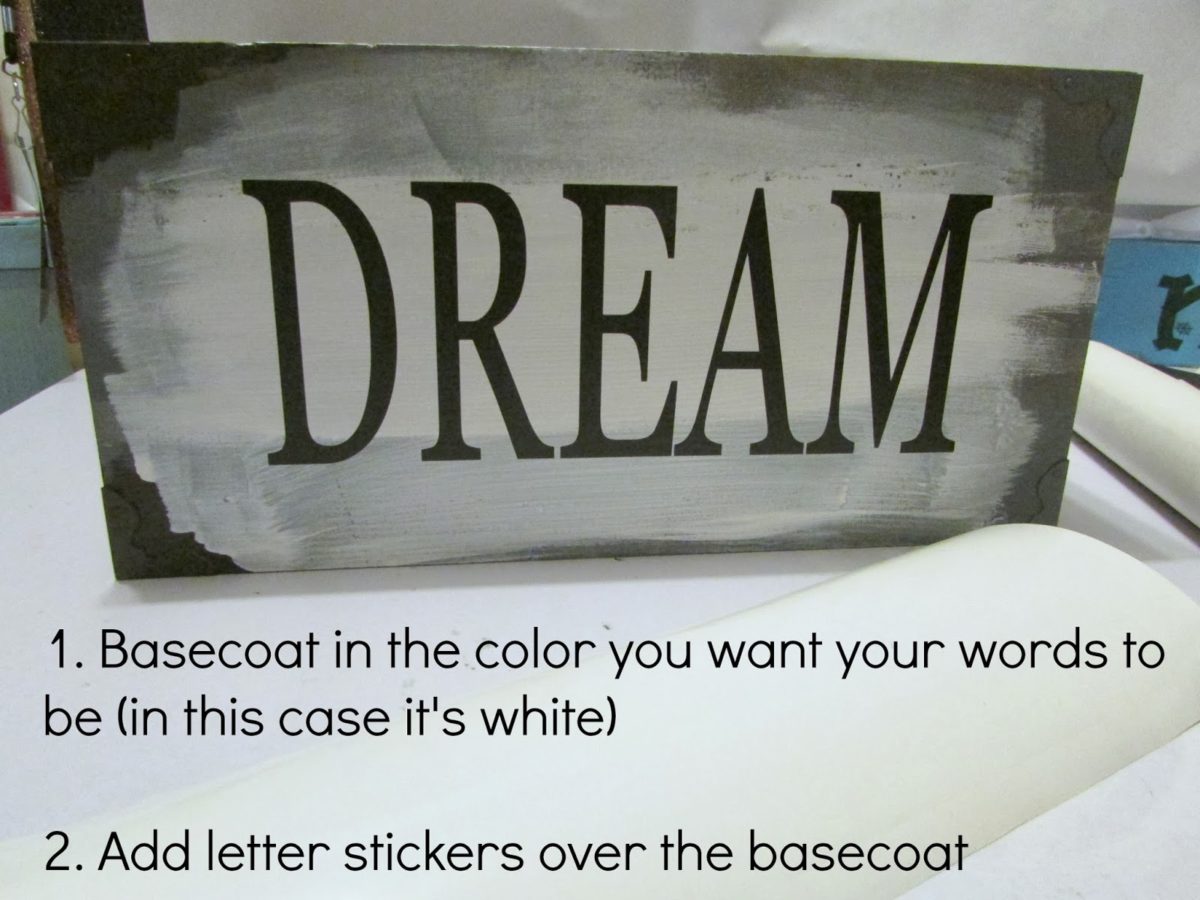
Next, paint directly over your stickers in whatever color you’d like the outside of your box to be. When it’s completely dry, remove the stickers.

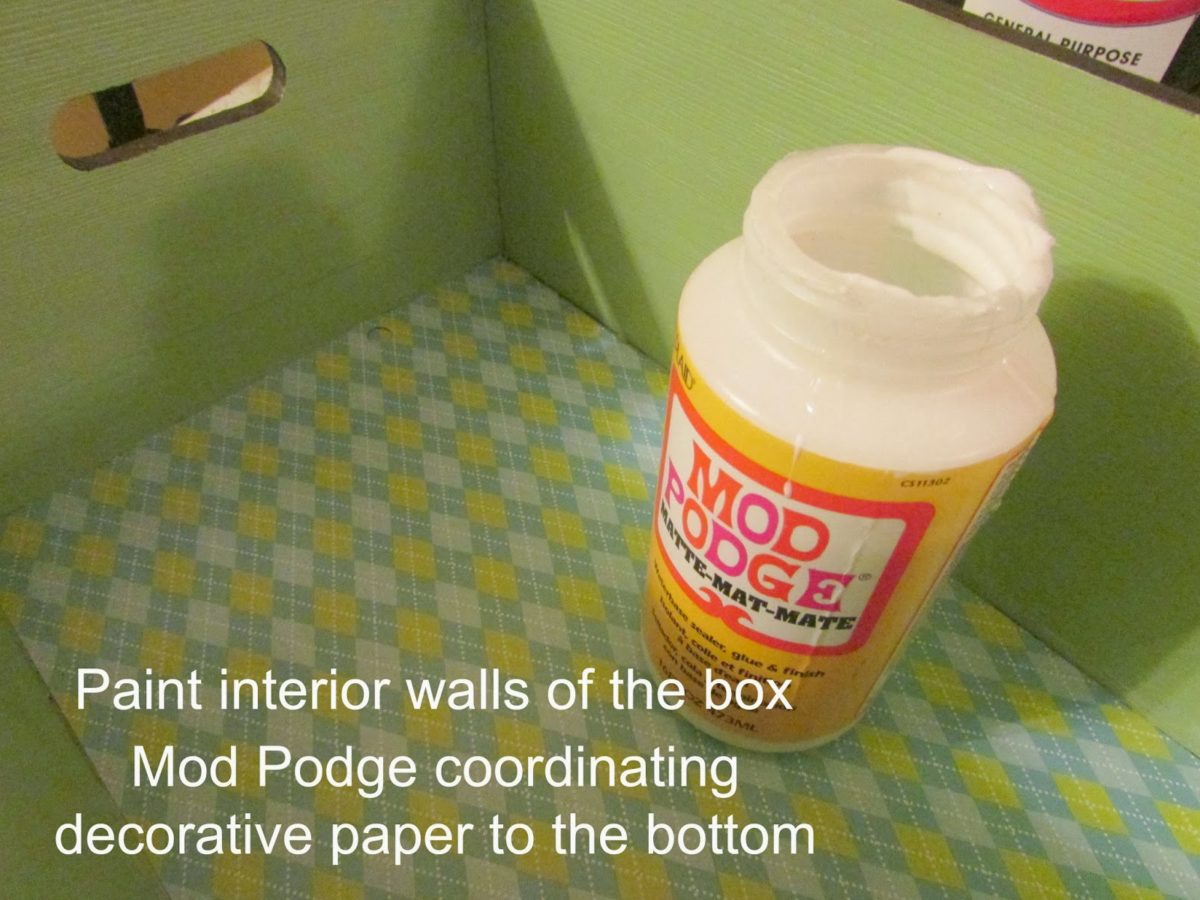
Paint the interior of your box in a coordinating color, then Mod Podge a coordinating piece of scrapbook paper onto the interior base of the box.
That’s it!
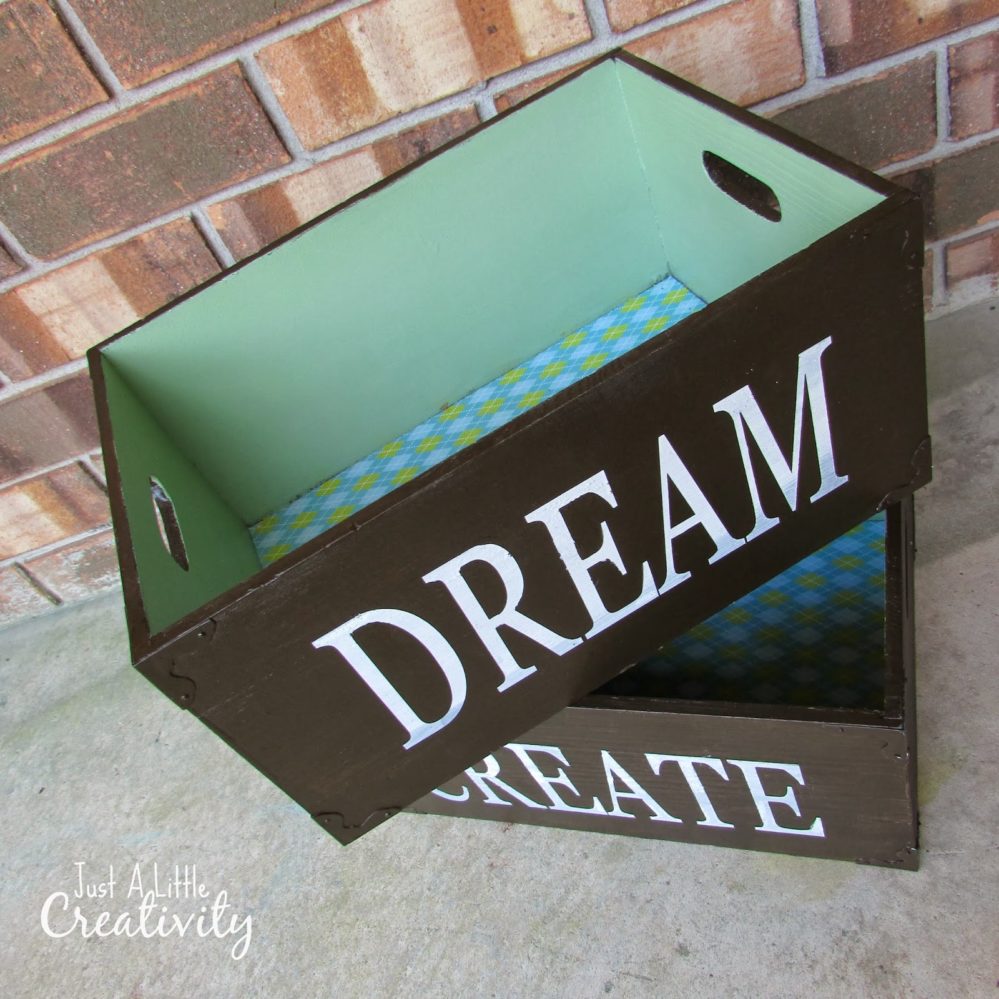

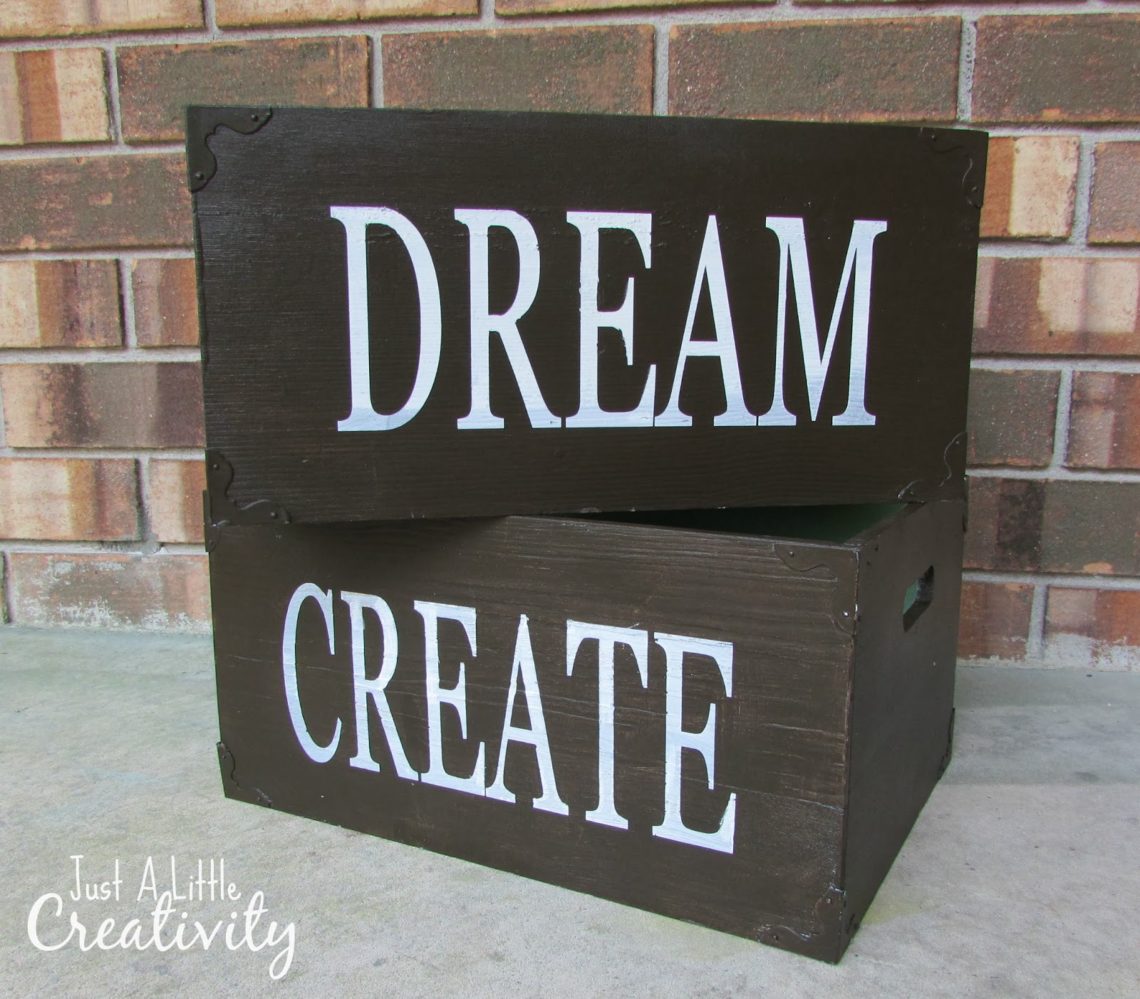

Like what you’ve seen? Follow along








wow!!!! love this transformation craftiness. Thank you for joining the fun ans sharing your sweet blog at the Thursday Favorite Things blog hop ♥
Very cute and you made it look super easy….thanks for sharing on the Thursday Blog Hop!
Does the vinyl come off easily? I was wondering about that.
Amberly- yes, I have not had a problem with the vinyl coming off, and I've done this type of project several times. You may need to use something like tweezers to help pull them off.
Very cute idea!! 🙂
These are wonderful–fun and extra storage!