
Right now we’re working on a big building revision at my church, and part of that is a giant map installation created from reclaimed wood. It’s going to be amazing. As part of the creative team there, we’ve been working on logistics and what-not to get it going.
I put together a mini prototype version as an example of what our final product will look like using pallet wood, foamboard, and chalkboard paint. I figured I’d share it here with you in case you should ever be so inclined to create something similar.
Forgive me in advance though, because I wasn’t anticipating actually creating a tutorial of this project so I didn’t stay on top of my game very well in taking step-by-step photos. This tutorial will be very basic, but I think you’ll get the general idea. If you have any questions feel free to email me.
Anyway, to create your own map here’s what you’ll need:
Wood (I used reclaimed pallet wood)
Screws
Foamboard (I used this for the added texture and dimension)
A printed image of your map
A projector or carbon paper (both can be used to transfer the map image onto the foam board)
Exacto knife
Chalkboard paint
Glue
First, cut the pallet wood to size.
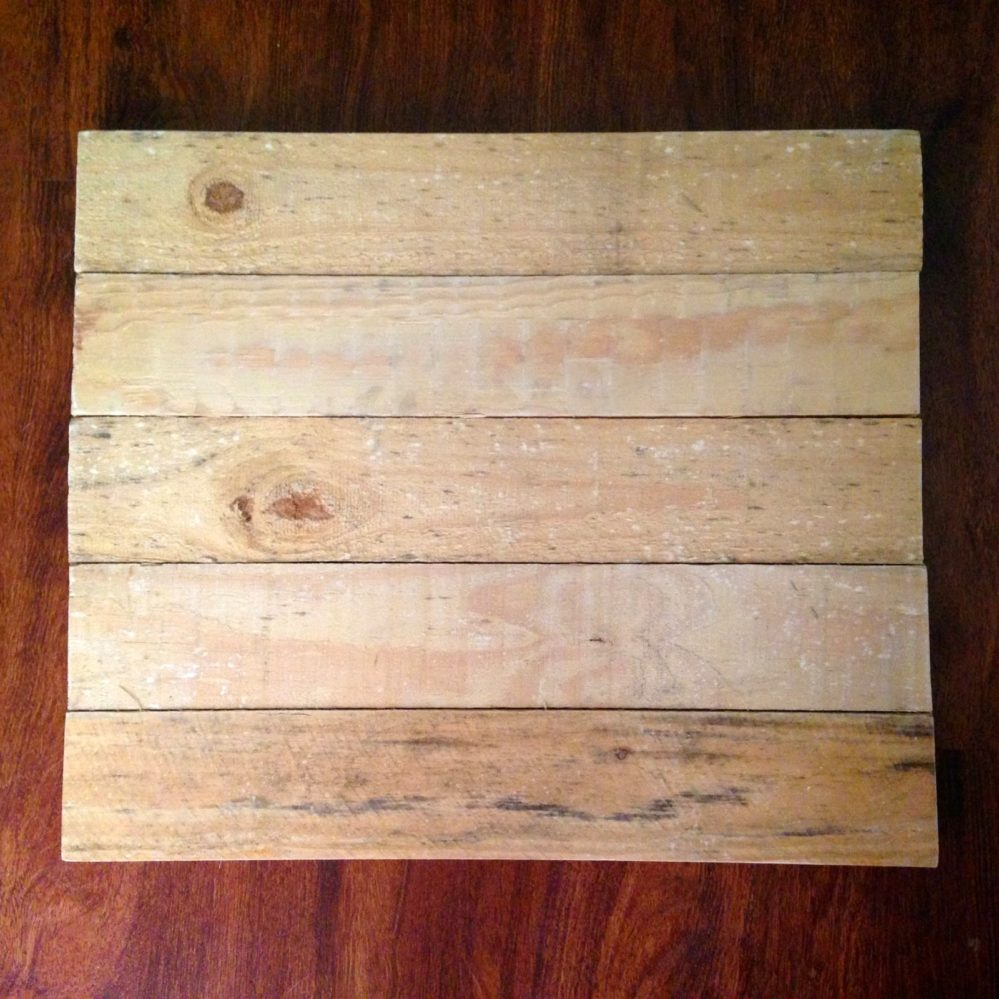
Next, screw it to a leftover piece of plywood from the back so you won’t see the screws.

Then, use a projector (I use a Artograph Tracer) and project your image onto your foamboard.
If you don’t have a projector, then enlarge your map image to size (maybe pieced onto several sheets of paper) and use carbon paper to trace it onto the board.
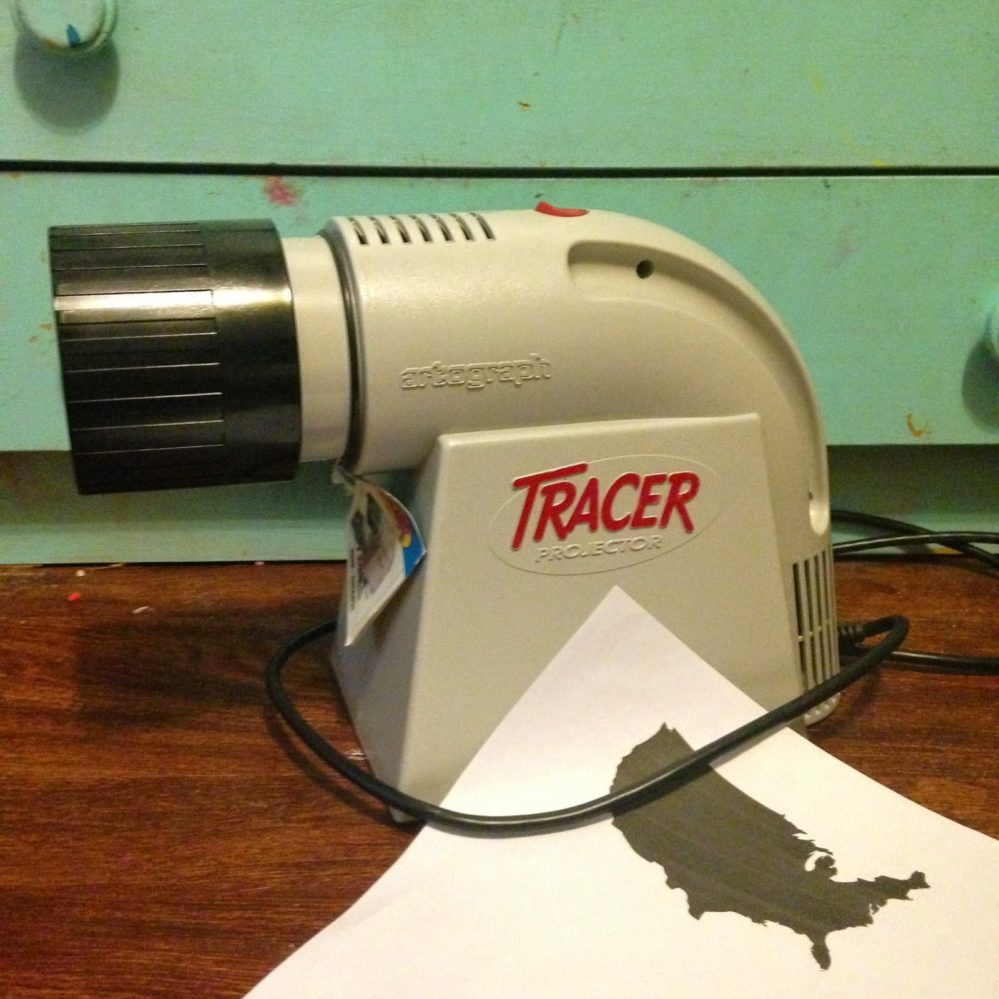

Carefully cut your image from the board with your Exacto knife.
Caution is your friend when using these knives.

I didn’t snap any pics of the next step, but it’s time to paint your map. If you want the chalkboard effect I recommend Rust-oleum spray paint.
You could skip this step all together if you don’t mind our map not being chalkboard, and just use black foamboard.

When the paint has dried completely, I recommend overnight, simply glue it onto the wood using basic white glue.
Simple as that!

As soon as we get our map wall finished, I’ll post photos, it’s going to be beautiful. In the meantime, this smaller scale map project will look great in any home.












This is just fabulous !!!
And a great tutorial – pinning now
Hugs,
Suzan
This project turned out great. I found your lovely blog from Homework Link party. Have a great week.
This is awesome, Molly!
Thank you for sharing your post this week at Brag About It Link Party on VMG206. I'm featuring you at Next Weeks Brag About It Link Party, Monday at midnight!
~ Megin of VMG206