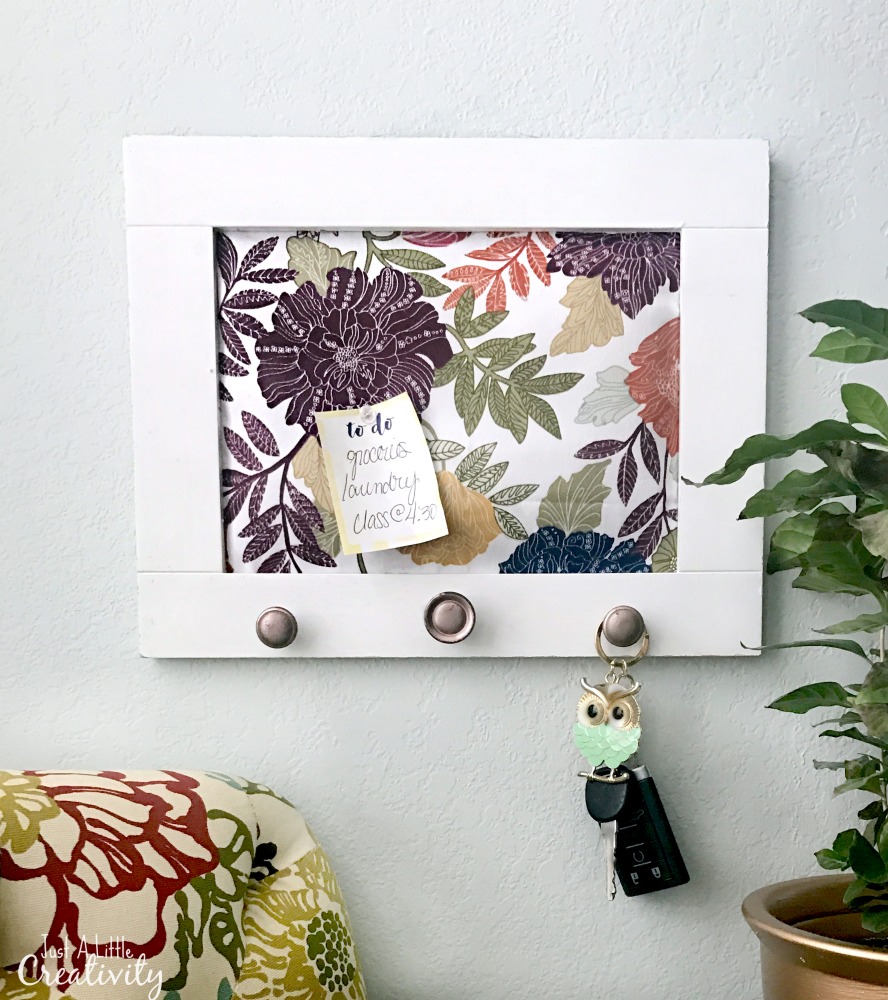
When’s the last time you looked through your craft or art space at the supplies you have laying around? If you were to take a peek into my art supplies, you’d find a lot of paint, salvage pieces of wood or parts of furniture, fabric (which is funny because I don’t sew much), and kids craft things like pipe cleaners, sequins, and glitter.
I joined with a fun group of bloggers for the month for a Craft Room Destash Challenge. The premise of this challenge is simple – the goal was to use as much of our current crafty stash for a new creation! We were allowed up to $10 for any necessities to complete our craft.
I actually didn’t need to spend any money at all to complete mine. After digging, thinking, and piecing things together I decided to make a plush memo board and key hanger using an old cabinet door and a few other things.
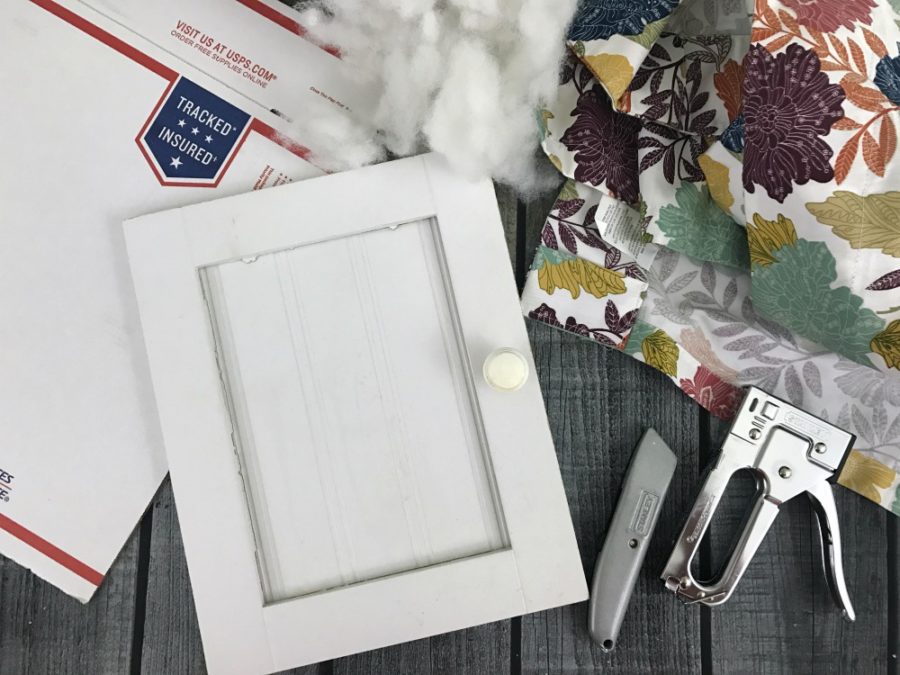
Here are the supplies I had laying around to make this:
- Old cabinet door from my bathroom vanity
- Window valance I found at a yard sale that didn’t fit my window
- Shipping box leftover from Etsy
- Cotton batting
- Exacto razor
- Staples & Stapler
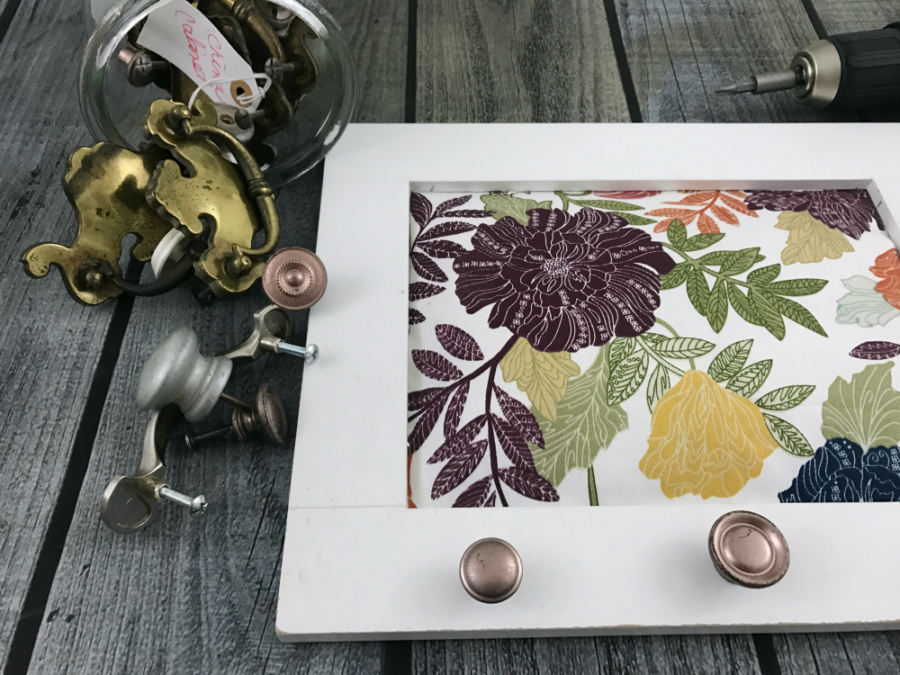
- Salvaged hardware from this dresser makeover project (I sold that one, and the buyer wanted to use her own hardware)
- Small screws and wire hanger
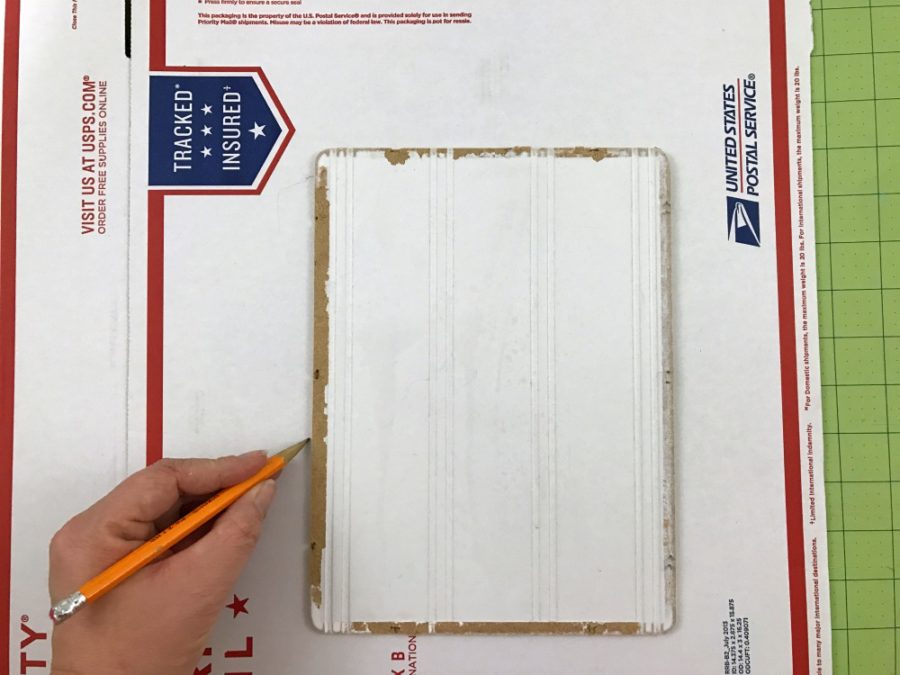
First I removed the inside segment from the cabinet door.
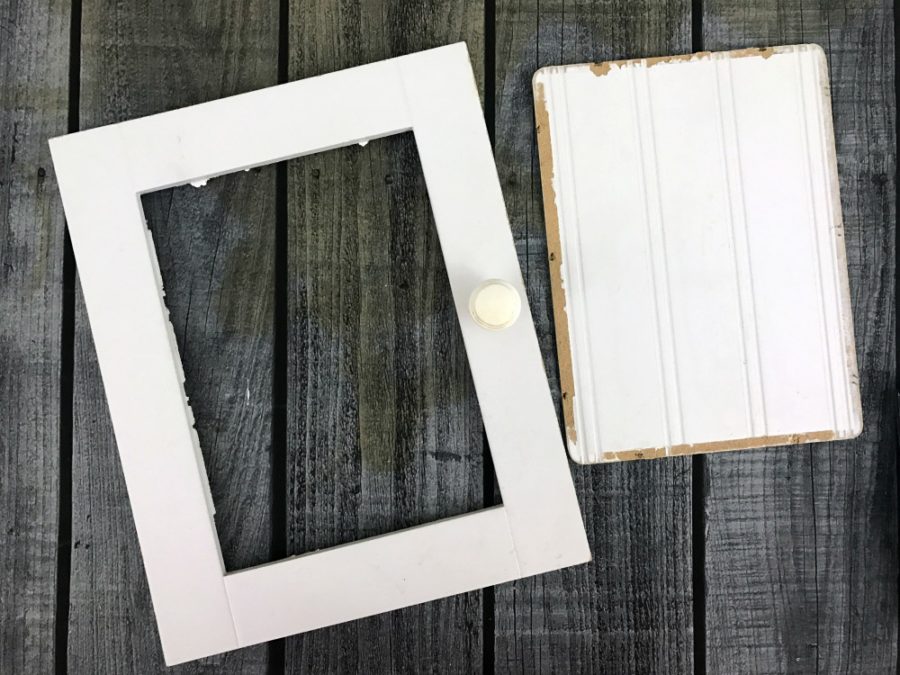
Then I used it as a pattern, and traced it on the shipping box.
I cut it out using my razor, cutting both sides of the box. I did this to make it thicker and more reinforced.
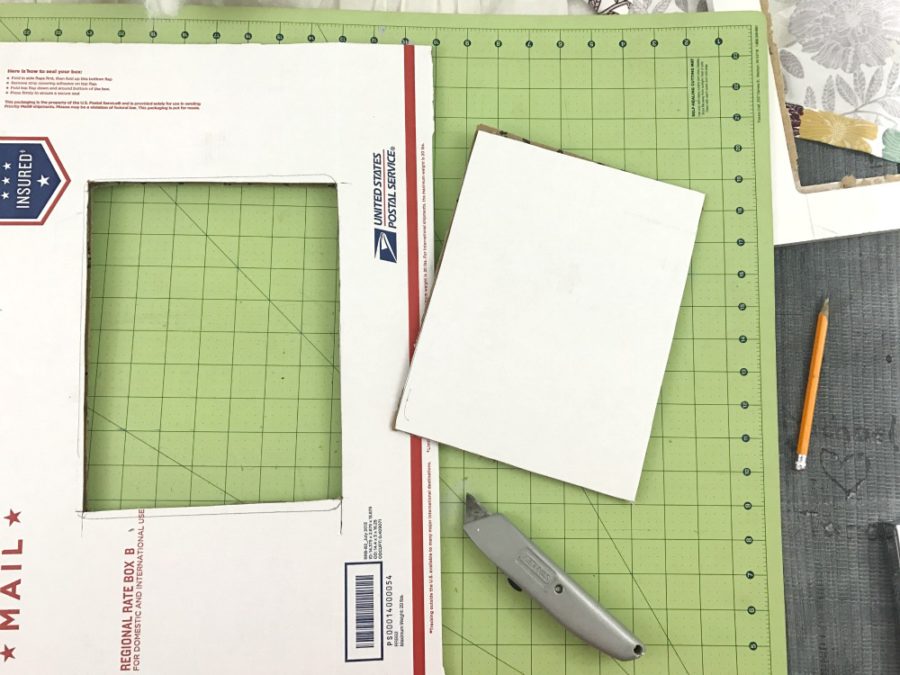
Next, I cut my fabric about an inch larger all the way around than the cardboard insert.
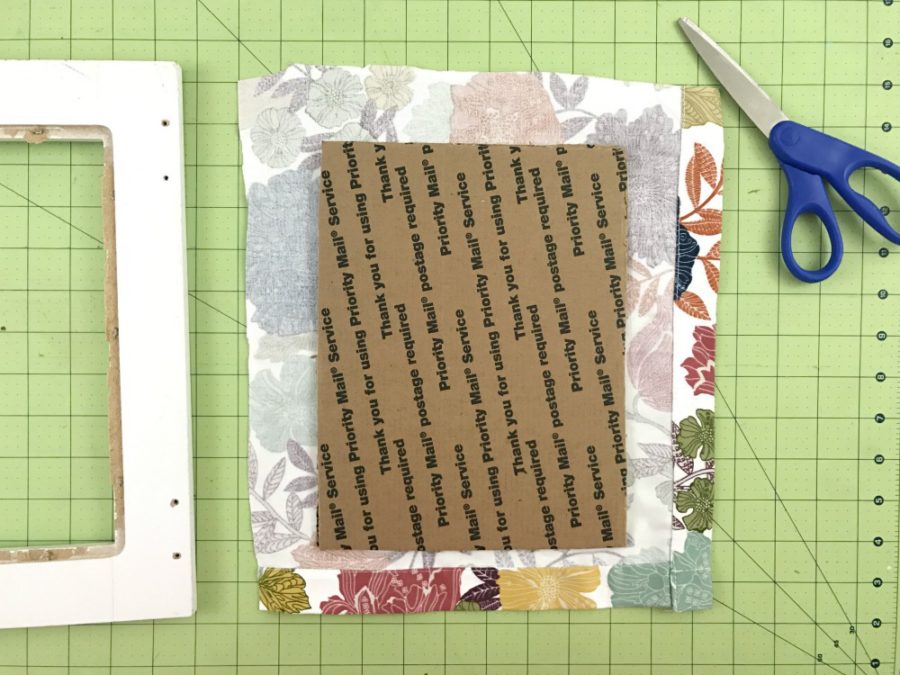
To make the memo board plush, I added batting between the fabric and the cardboard.

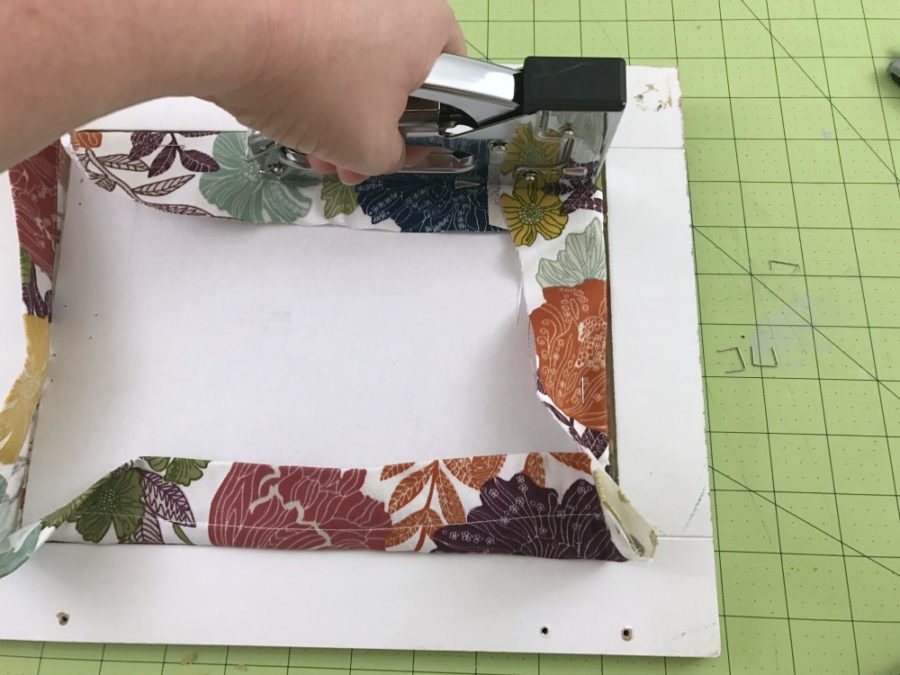
Next, I inserted the board with the fabric into the cabinet frame.
Then, I stretched the fabric and stapled around the entire piece of cardboard, which also attached the frame and the board together.
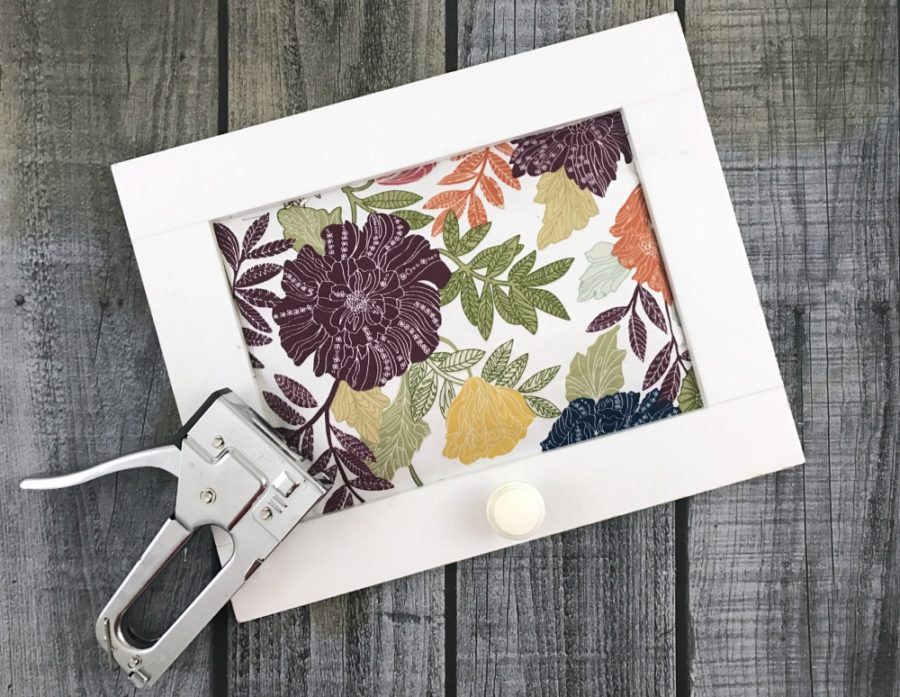
The single white knob wouldn’t do to hang keys on, so I drilled two more holes, and added three rose gold knobs along the bottom.
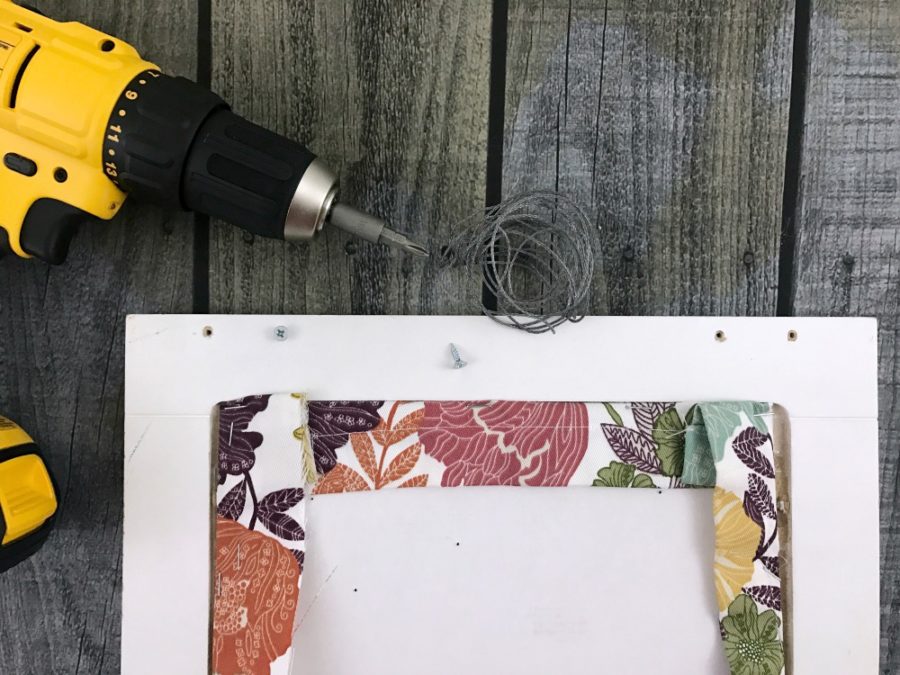
The last thing I did was added a few small screws where the previous hinge was and pulled wire between them so I’d be able to hang the board.
It’s always fun to pull out the things you already have and put your creative hat on. I had actually forgotten I saved this cabinet door. These days, with a daughter living in a college dorm, I always seem to be thinking things she’d be able to make and use on a budget. I may make another one of these for her with the other door, with fabric to match her space of course.
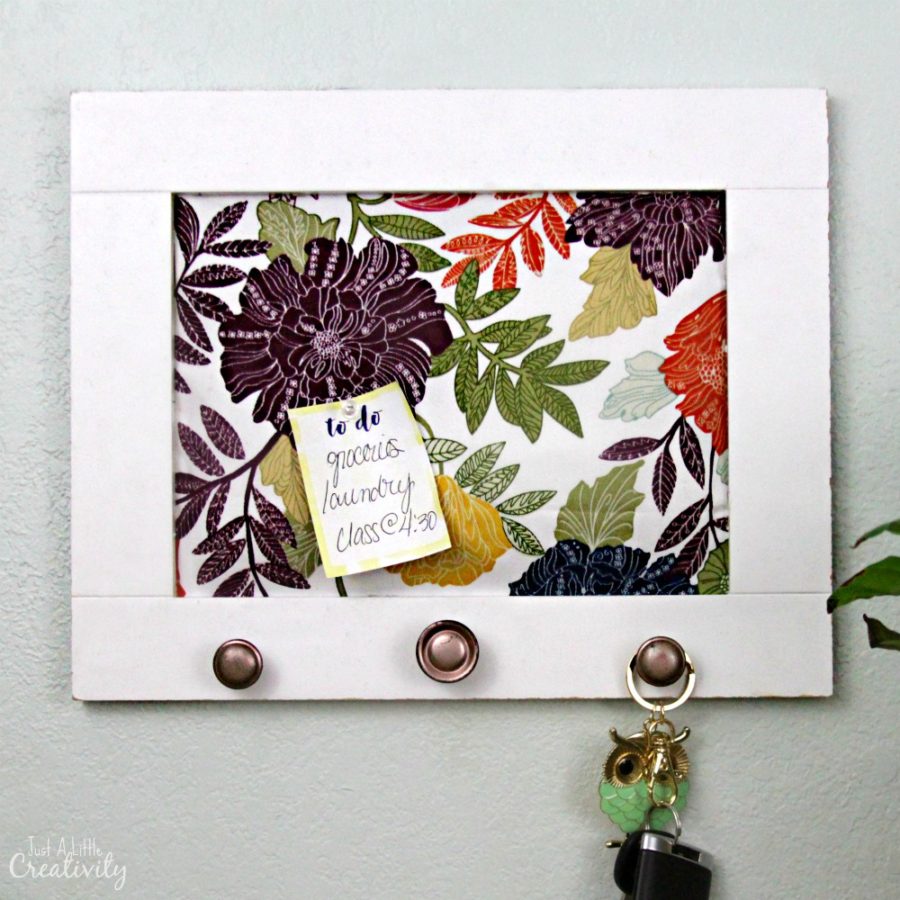
What would you create with an old cabinet door?
What crafty destash could you create with your own items?
Make sure you check out the other bloggers and be inspired by their projects as well. Then, go dig through your own stuff and start creating! Let me know what you make!


I love how this is a craft destash as well as an upcycle project. Pinned!
I’m happy to see that I am not the only one who uses shipping boxes for project prep, too!
I love using cabinet doors for projects. I find them at the ReStore a lot. Can’t wait to try this.
This is so pretty! I love the fabric you used!
Cute (and practical) idea! Can never have enough places to put a note. Visiting from Crafty Destash.
Oh I love this idea! I am pinning it to “steal” later!
I love this memo board and you’ve inspired me to get creative with some old doors and frames I have in my stash.
I love the fabric. It is so pretty. This is such a nice project and so useful. I love how you were able to reuse so many of the things you had.
Say what?! Genius! I would have never thought to use cardboard for a memo board!!! Thanks so much for sharing your brilliant tutorial.
I love this! I actually finally got rid of a bunch of cabinet doors I was hanging on to for a someday project! I love the fabric. The crafty destash challenge was so much fun.
This project turned out great! Love that it’s functional as well as pretty.
What a wonderful way to use a cabinet door. I love the fabric pattern too.
Fab on you for spending zero on the challenge! You chose a beautiful fabric, and this is a pretty piece of functional decor!
Love this and how it turned out. Now I feel like I will be on the lookout for an old medicine cabinet door!