Welcome to the New Year! This is my first time participating the the Thrift Store Decor Upcycle Challenge, and I’m so excited!
The original group of bloggers took a few months off for the holidays, but they’re back now are ready to show you more upcycled thrift ideas! This time they’ve joined forces with even more bloggers (I’m one of them, yay!) and have tons of thrifty upcycle ideas to get those wheels spinning.

The Rules:
- Upcycle an item(s) from a thrift store, resale store, or garage sale into a new piece of decor.
- There’s no monthly theme.
- There’s no budget to stick to.
Meet the Hosts
Amanda | The Kolb Corner Maureen | Red Cottage Chronicles Kim | Made in a Day
Dru | Polka Dot Poplars Erlene | My Pinterventures Colleen | Life on Kaydeross Creek Pili | Sweet Things
Shirley | Intelligent Domestications Ann | Duct Tape and Denim Debra | Shoppe No. 5 Marie | DIY Adulation
Chelsea | The Johnsons Plus Dog Jes | My DIY Envy Jennifer | Smart Fun DIY Lindsay | Crazy Organized
Molly | Just a Little Creativity Ashley | 3 Little Greenwoods Kimm | Reinvented Michelle | Our Crafty Mom
Ali | Home Crafts by Ali Sue | A Purdy Little House Sara | Twelve on Main
Claire | Pillar Box Blue Chelc | Inside the Fox Den Kim | Farmhouse Made Victoria | Dazzle While Frazzled
Sherry | Savvy Apron Jennifer and Vicki | 2 Bees in a Pod Lora | Craftivity Designs Megan | C’mon Get Crafty
Denise | My Thrifty House Toni | Small Home Soul Deborah | Salvage Sister and Mister
Make sure you follow our board on Pinterest for more upcycled decor inspiration!
***************
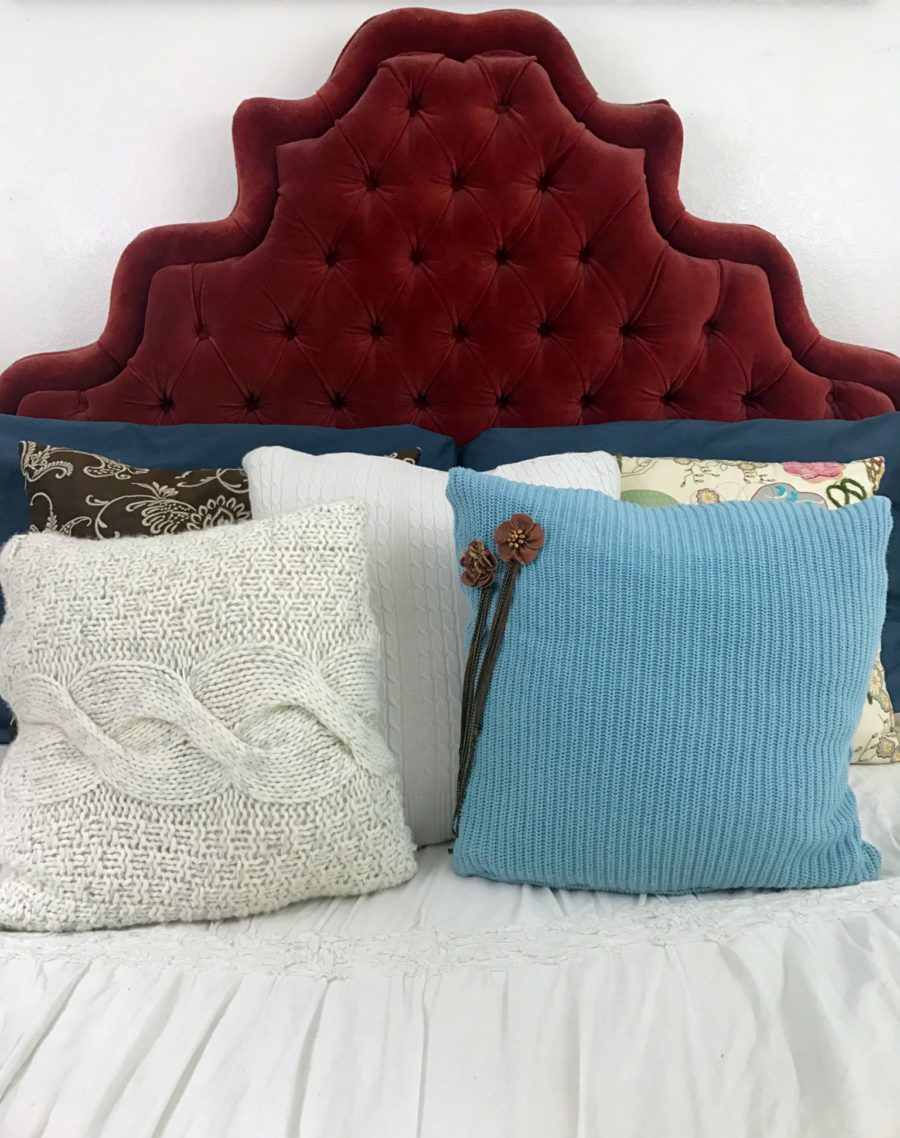
As for myself, it’s still winter, so I wanted to recreate some expensive sweater pillows I saw in a home decor store not long ago. I knew it could be done for a fraction of the cost by thrifting and upcycling my materials.
One of my goals this year is get better at sewing. The skill of sewing has never been one I’ve been good at. My mom sews amazingly well, and so does my sister, but those genes might’ve very well skipped me.
So because of that, and like most of the projects I share here at Just a Little Creativity, this upcyled sweater pillow project is easy! Don’t be afraid if you’re a beginner, because so am I and I was able to make these wintery pillows work. I recruited my mom and teenage daughter to help me figure out how to bring my idea into reality.
What we’re making isn’t a brand new pillow, but essentially a sweater cover. You could use this same idea and stuff the sweater with batting and sew it shut, but I like the idea of being able to change these out for the season and even better, to wash them.
What you need:
- Throw pillows and sweaters. Both are readily available and inexpensive at thrift stores. If you have them already at home, even better.
- A sewing machine. There are actually a few options here- we used my moms serger because it’s awesome, but you can do this with a zigzag stitch on a regular machine. Just make sure it’s set to handle the thickness of sweater fabric. There always the option of hand stitching the pillows as well. And if you’re really, really uncomfortable sewing in any capacity, you can use Heat N Bond for your seams. That would make it an entirely no-sew project.
- Scissors
- Any embellishments you may want (buttons, etc)


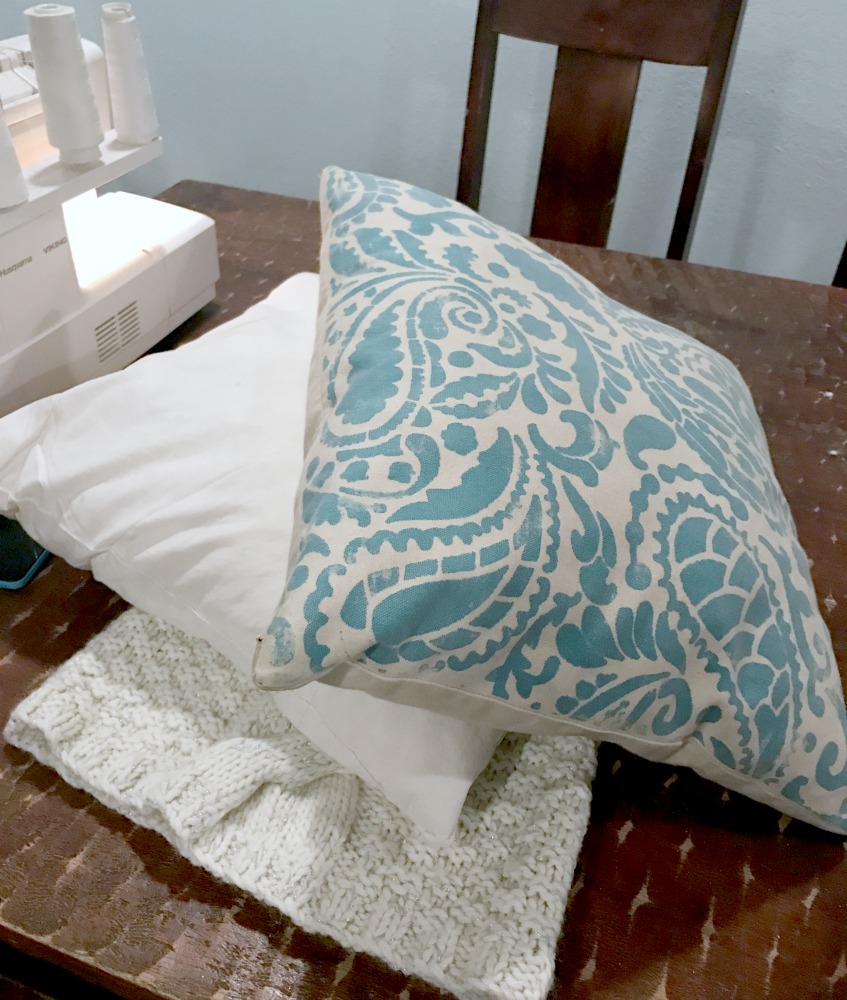
Step One:
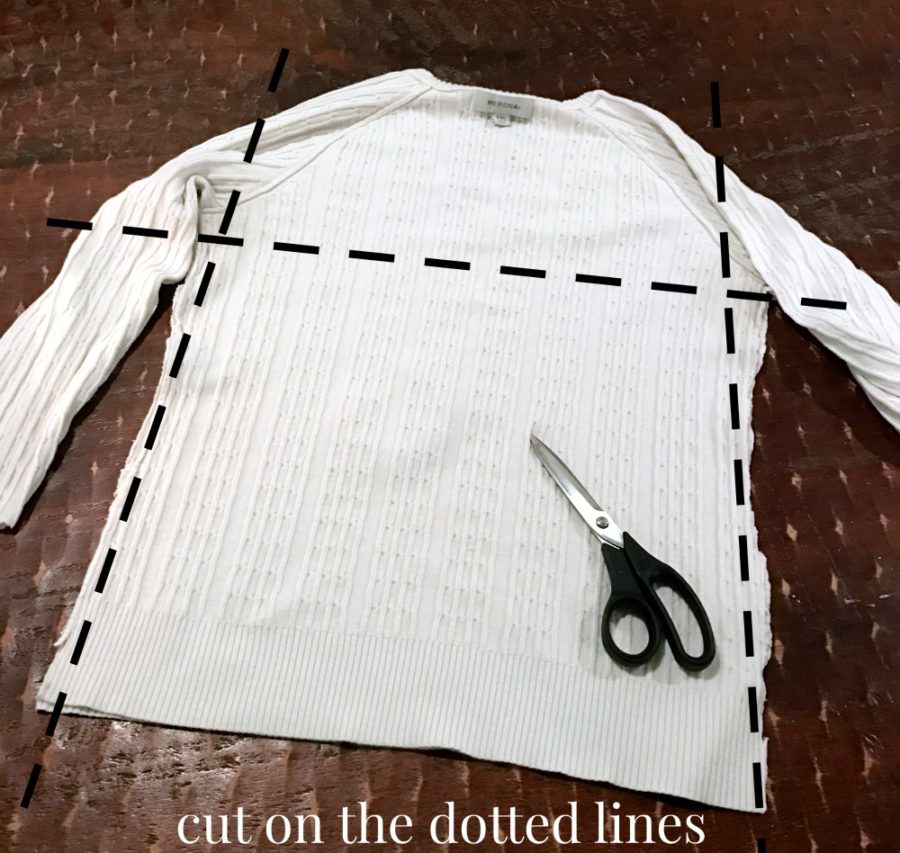
Cut the top of your sweater off, from the bottom of one armpit to the other, and then cut the sides, so now you have two squares for your pillow that are the same size.
These will be the front and back of your pillow.
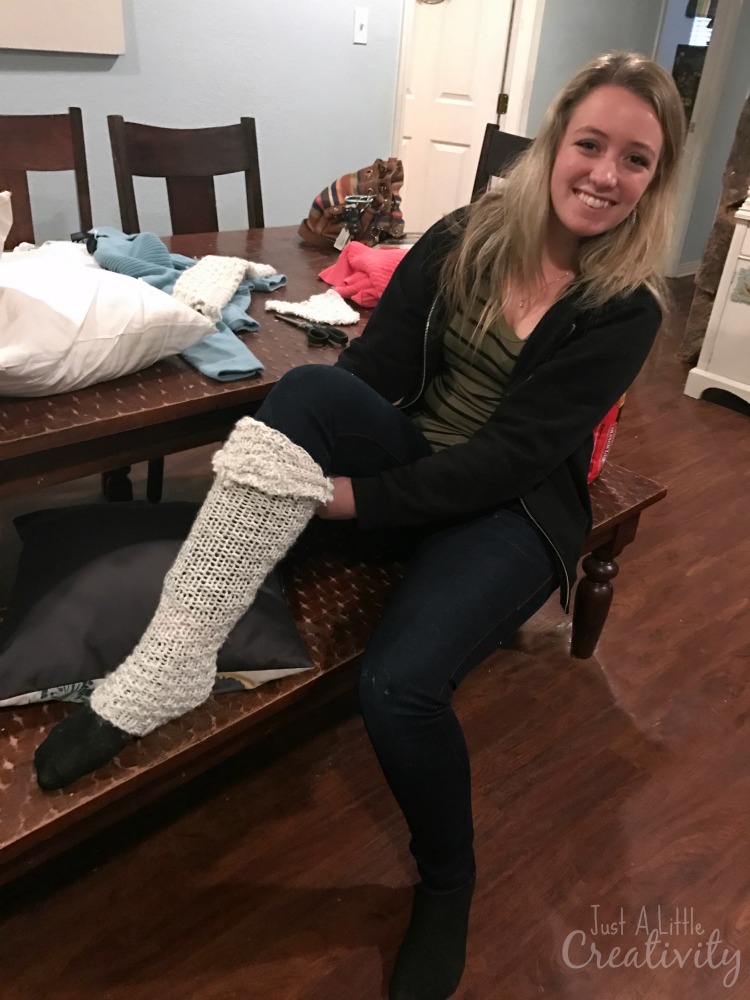
And if you have a teenager, she may cut the arms off too, and try to wear them on her legs. Because teenagers…
 Step Two:
Cut an arm of the sweater the same width of the pillow squares. This becomes a flap later on to close your pillow.
You only need one side of the arm, so cut the other side off.

Step Three:
Determine which square is going to be the front of your pillow, and with the right sides facing each other (meaning the sides of the fabric you’ll be looking at when the pillow is done), sew the flap (the piece you cut of the arm) to the top of the front of your pillow.
For a clean & finished look, I suggest using the bottom of the sweater as the top of the pillow on both the front and back square pieces (basically, opposite of the way I did in these example pics, sorry).

Step Four:
Line the front and back pieces with right sides facing each other, making sure the flap is up.
If you want to pin the front and back pieces together to make sewing easier, now is the time to do that.

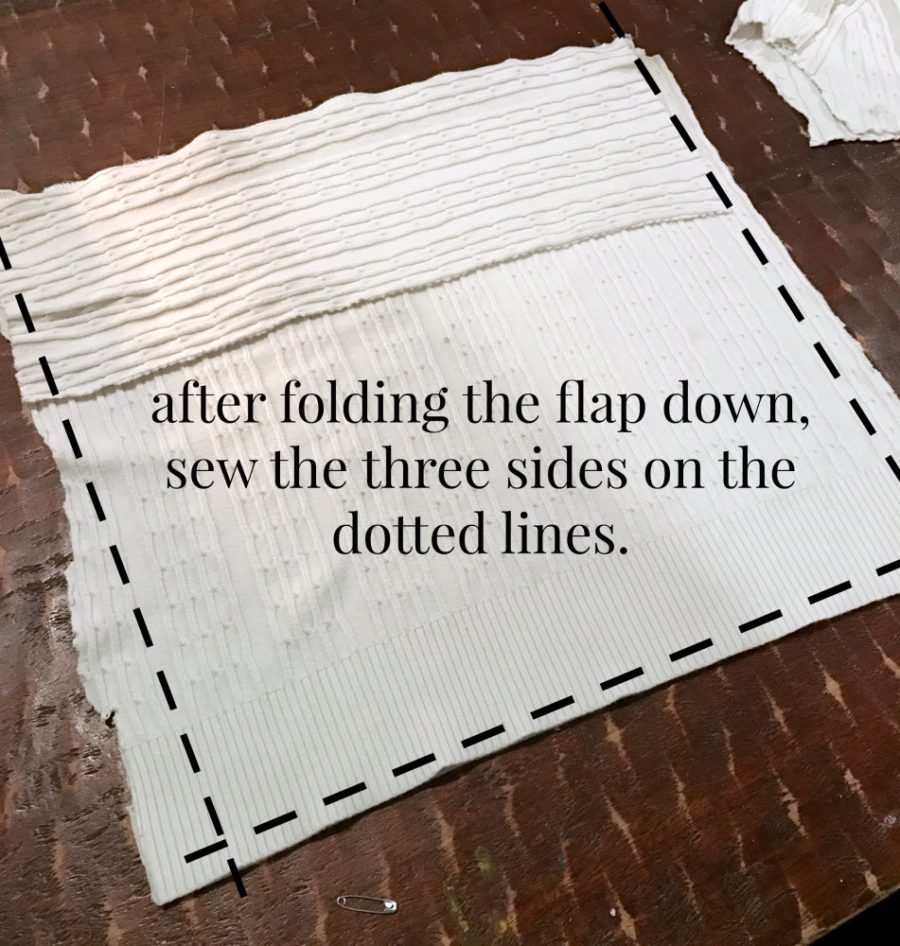
Then, fold the flap back down over the back piece, and stitch the bottom and both sides of the pillow together.
Step Five:
The pillow cover is now inside out, so turn it right side out.
Insert the pillow, and tuck the flap down.
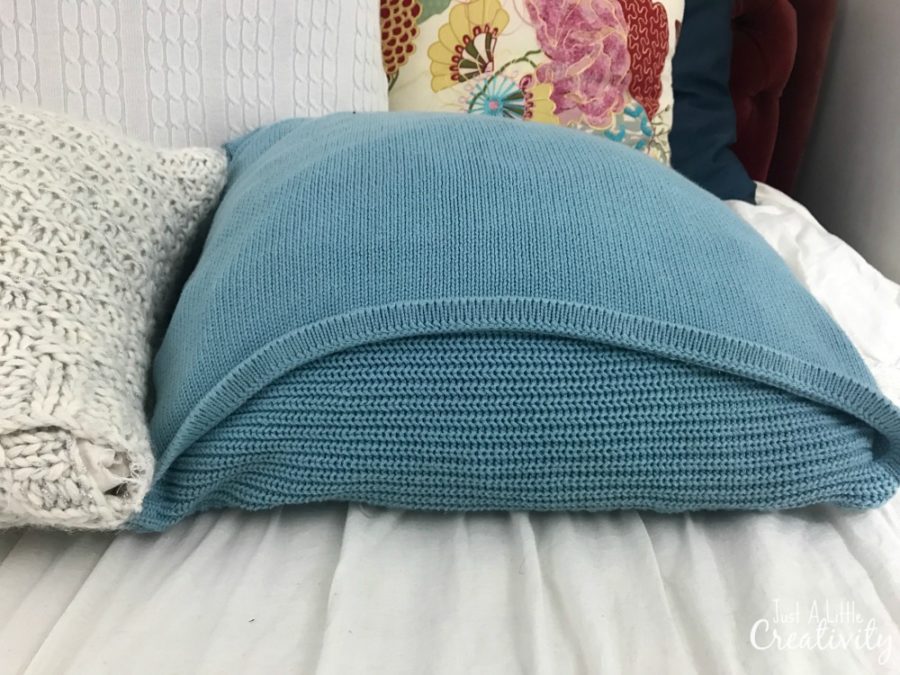
Step Six (Optional):
If the case isn’t closing tight enough to your liking, hand stitch a few buttons to the top of the flap to secure it better.
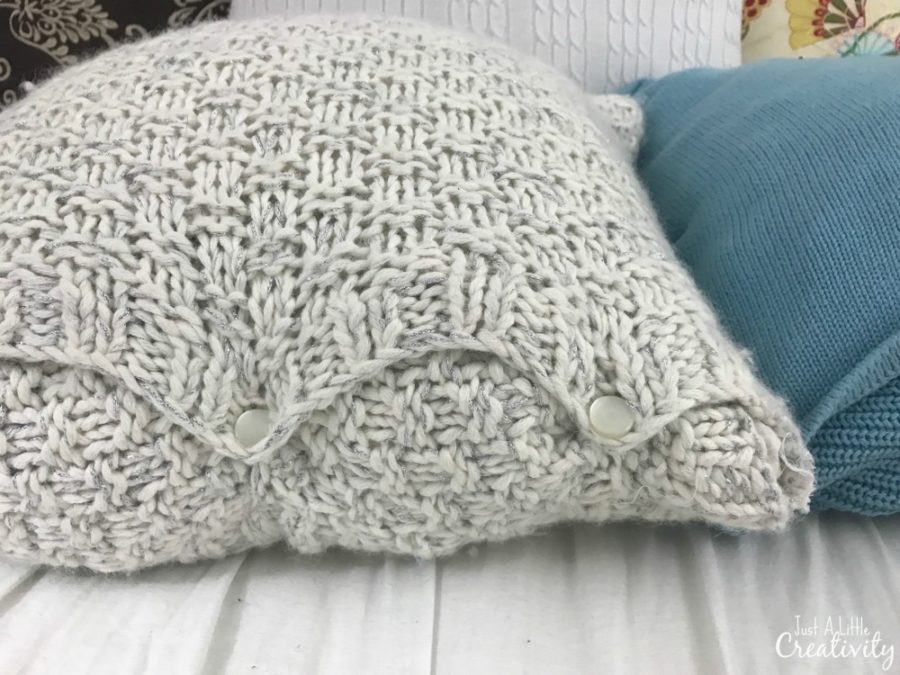
If you’re fabric weave is big enough that a button can slide through easily, then you’re in luck. If it’s not, snip a tiny hole for the button to go through.
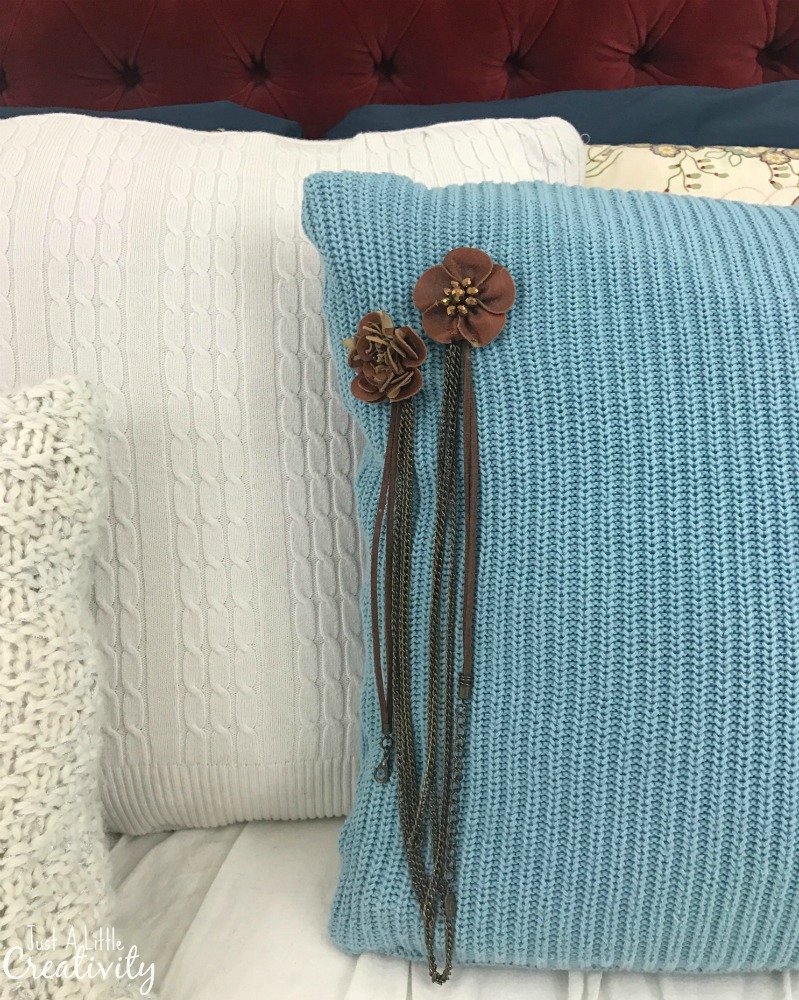
You can also embellish your pillows if you’d like.
I used a thrifted leather rosette necklace and hand stitched it into place on my blue pillow.
As we were making these, my daughter was taking notes because she wants to make them for her dorm room and show her suite mates how to make some too. College kids are on a budget, and changing out the decor frequently isn’t really feasible for them. This is the perfect way to upcycle a thrift find into lovely decor.

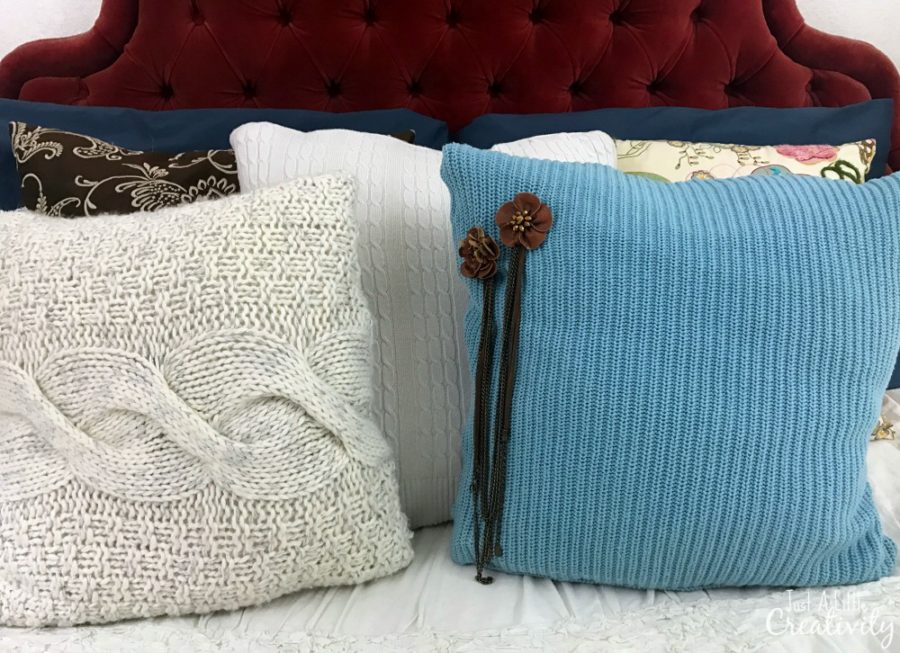
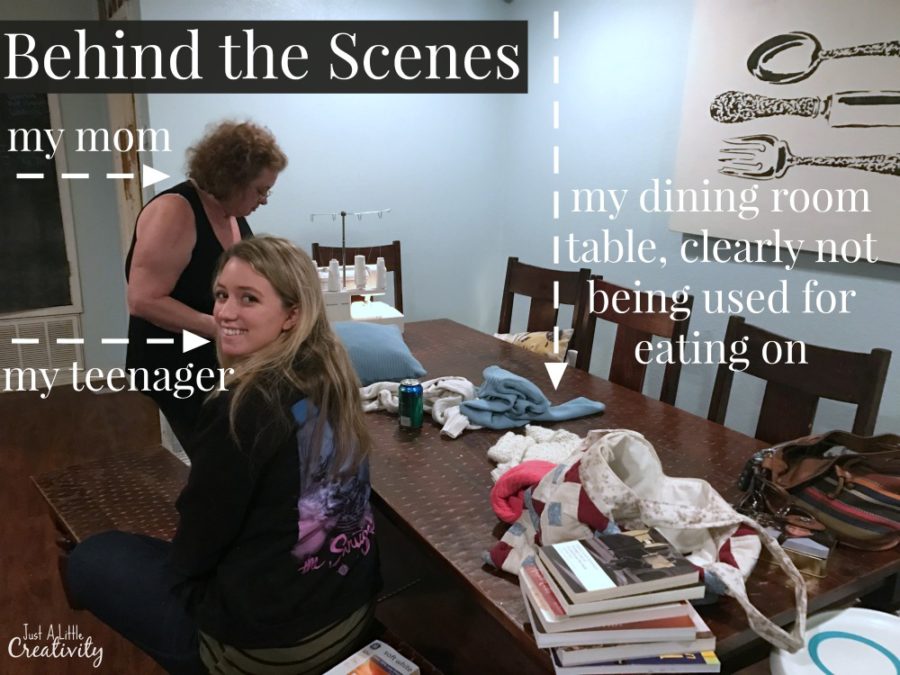
Behind the scenes look:
Just for fun, and so you don’t think that my craft space (which for this project was my dining table) is perfect. It’s totally not!
And now for more thrifty goodness!
Check out what my fellow upcyclers created below!


Great idea to add some inexpensive cozy decor. I really love the chunky knit one with the design on the front!! And you aren’t the only one who uses their dining room table to sew at! 😉
I love to upcycle my sweaters into pillows. Love the blue one with the flower embellishment.
Wow!! I love these pillows! I wish I could sew! I am going to see if I can pick up some sweaters with a no sew version! Thanks for inspiring me!
Pinned, and love. And the arms as boot cuffs is too awesome.
I love these sweater pillows, they add instant coziness. The idea of adding the embellishments is such a nice touch.
Ooooh, I love that chunky knit one! Sweater pillows are a great addition in this cold months!
I’m so going to do this. I’m always looking for different ways to cover all my pillows. Beautiful!
These are really great! I have been wanting to do something like this for awhile but my sewing machine is not my friend, so I retired from it. Love that headboard!
Kim
I love these sweet sweater pillows and that blue colour is so pretty and cozy.
This is a cool upcycle, and what great texture it would add to a bed or couch.
Great tutorial for making pillows from sweaters! Adding sweaters to my thrift store list now. {love that your daughter thought to use them as leg warmers!}
Thanks so much for the DIY inspiration!
{BIG hugs}
~ Ashley
Very cute!!! I’m actually getting ready to do something similar with some left over sweater materials from a DIY
I love all o;f these but my favorite is the blue on with the sweet charms, and the chunky one with the buttons Now I need to go on the hunt for sweaters 🙂
I love sweater pillows!!! I LOVE the cable knit with the buttons, it’s so adorable!!
Makes me wish I remembered sewing from costuming class in college! Love this, so pretty!