
It’s no secret that I enjoy a good furniture makeover. And, I know from comments and emails I’ve received from you, my readers, over the years that you’re right there with me. I love that! I’ve shared examples of several different products and types of paint to inspire you and show you how to give new life to worn pieces. One type of makeover I’ve never given much thought to before now is adding decorative overlays to a piece.
The opportunity finally came this month to try a product called O’verlays® (for free) to makeover a piece to for The Fab Furniture Flippin’ Contest.
Before I get started let me share a bit of information about O’verlays, just in case you’re like me, and not too familiar with them before now:
O’verlays® are decorative fretwork panels that come in several patterns and sizes. They are light weight, paintable and easily attach to furniture, doors, walls and glass. They help you customize your furniture and accessories with O’verlays® or use O’verlays® Kits sized to fit many of IKEA® and other popular furniture.
Several years ago, we purchased unfinished real wood dressers for each of us. Before making over furniture was ever on my list of “things I like to do”, I just assumed we’d stain them all and call it a day. Then, I never stained any of them. They all pretty much stayed unfinished.
Once I began learning how to makeover furniture, I’ve been blessed to have all of these dressers in the house that needed some love. I’ve shared all the makeovers here on the blog- Star Wars BB8 dresser, Dr. Who Tardis dresser, and my daughter’s set of farmhouse style dressers.
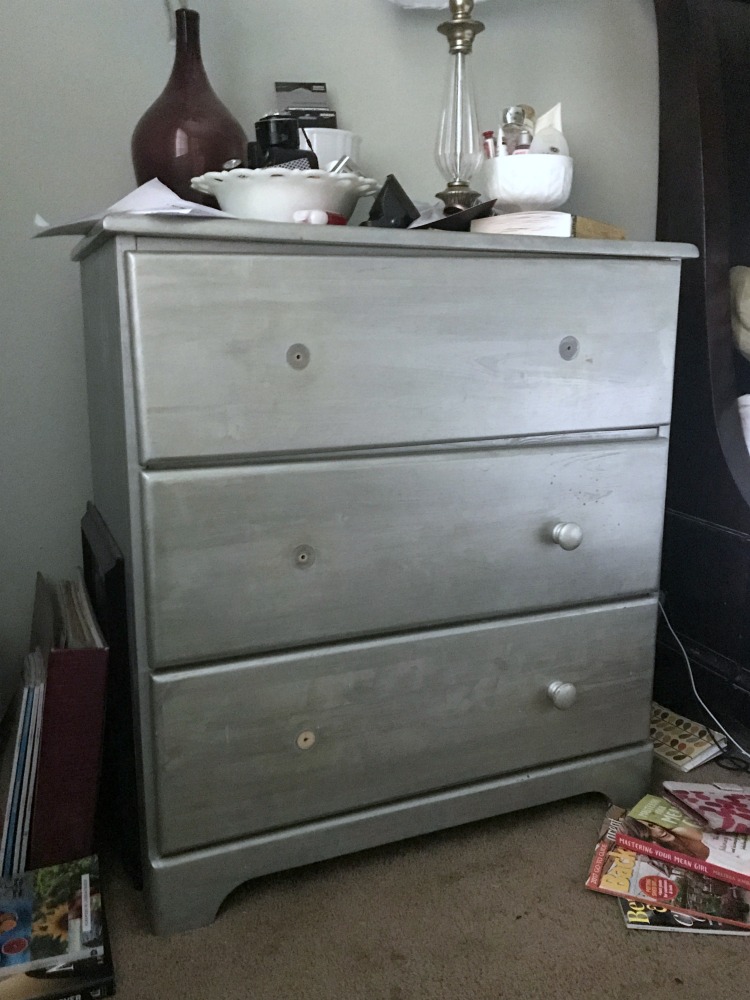
I knew that my drab dresser that doubles as a night stand by my bed would be a great piece for this project. This one and the matching piece that my husband uses are the only two dressers we actually painted. And that happened with silver spray paint. Yes, it did indeed. And as you can see, many of the original plain wood knobs have gone missing as well.
Also, no judging the mess. It’s not normally that messy, but folks always want a genuine behind the scenes look, right?
Well here you go.
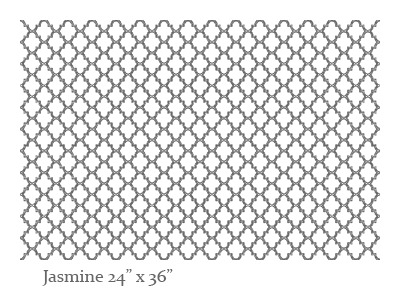
There are so many trendy patterns of O’verlays to choose from. You’re sure to find the perfect accent to your bland furniture. For my dresser makeover, I chose the pattern called Jasmine in a 24″x36″ panel.
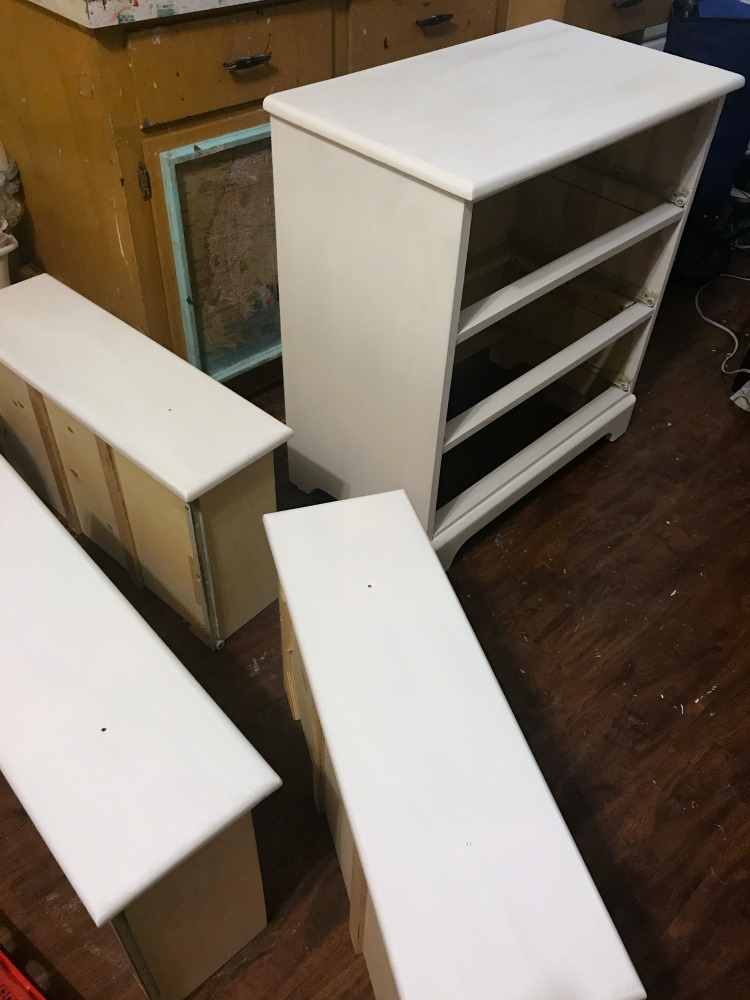
The O’verlays arrive in white. They can be painted, but I knew I wanted a monochromatic white on white to match my bedroom.
To begin, I used my tried and true Annie Sloan chalk paint in pure white, and gave it two coats of paint.
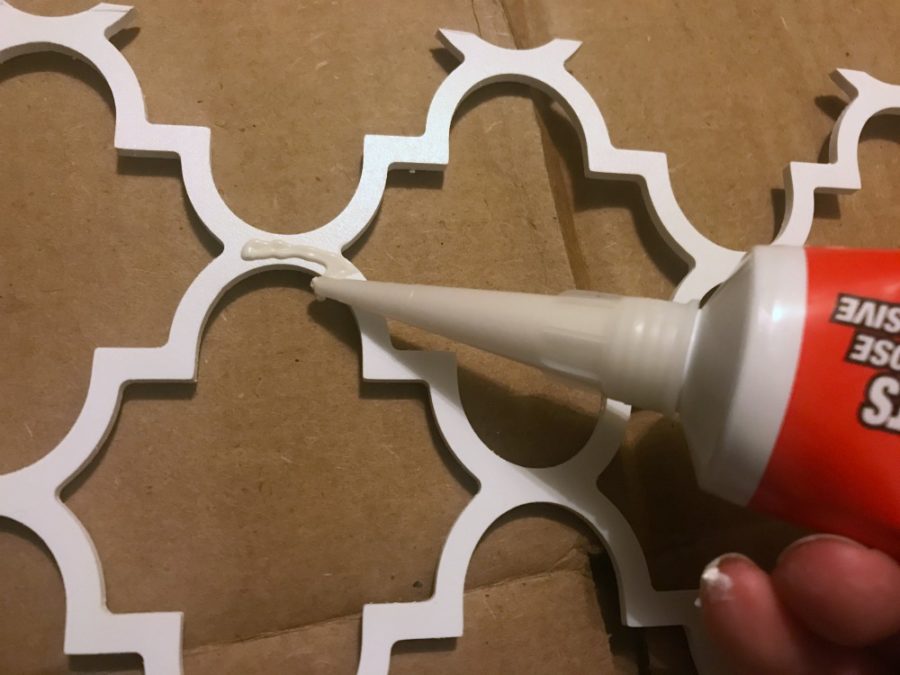
Next, the overlays. Mine came in a large panel that needed to be measured to fit the drawer front, and then cut with an exacto-type of razor.
My best advice is to not be intimidated, just make sure you measure twice and cut once.
There are also a ton of FAQ’s and how-to’s on the O’verlays website for just about any question you have, so make sure you use that resource when you do your piece of furniture.


When you’ve got your pieces cut to size, you simply apply them with Liquid Nails.
THIS VIDEO from the O’verlays blog shows you exactly how to do it.

I let the liquid nails dry for about 24 hours before I moved my dresser back into my room.
I am so happy with the results!
The overlay really is like the icing on the cake, the cherry on top! Would the dresser have been pretty with just a coat of white paint and the dark replacement knobs? Yes! But the pattern adds just the right pop of texture and uniqueness to the piece that it needed.
Now, to makeover the one my husband uses so I’ll have a matching set!


You won’t be surprised that the theme for The Fab Furniture Flippin’ Contest is “Cut n Paste with O’verlays”! Our host is Scottie from Saved by Scottie.
Hop on over to her blog to see the fabulous piece she created using Overlays. And make sure you check out The Fab Furniture Flippin’ Contest website to see all of our entries for the month, vote for your favorite, and be inspired!

If you are a blogger and are interested in participating in this contest, contact info@fabfurnitureflippincontest.com

