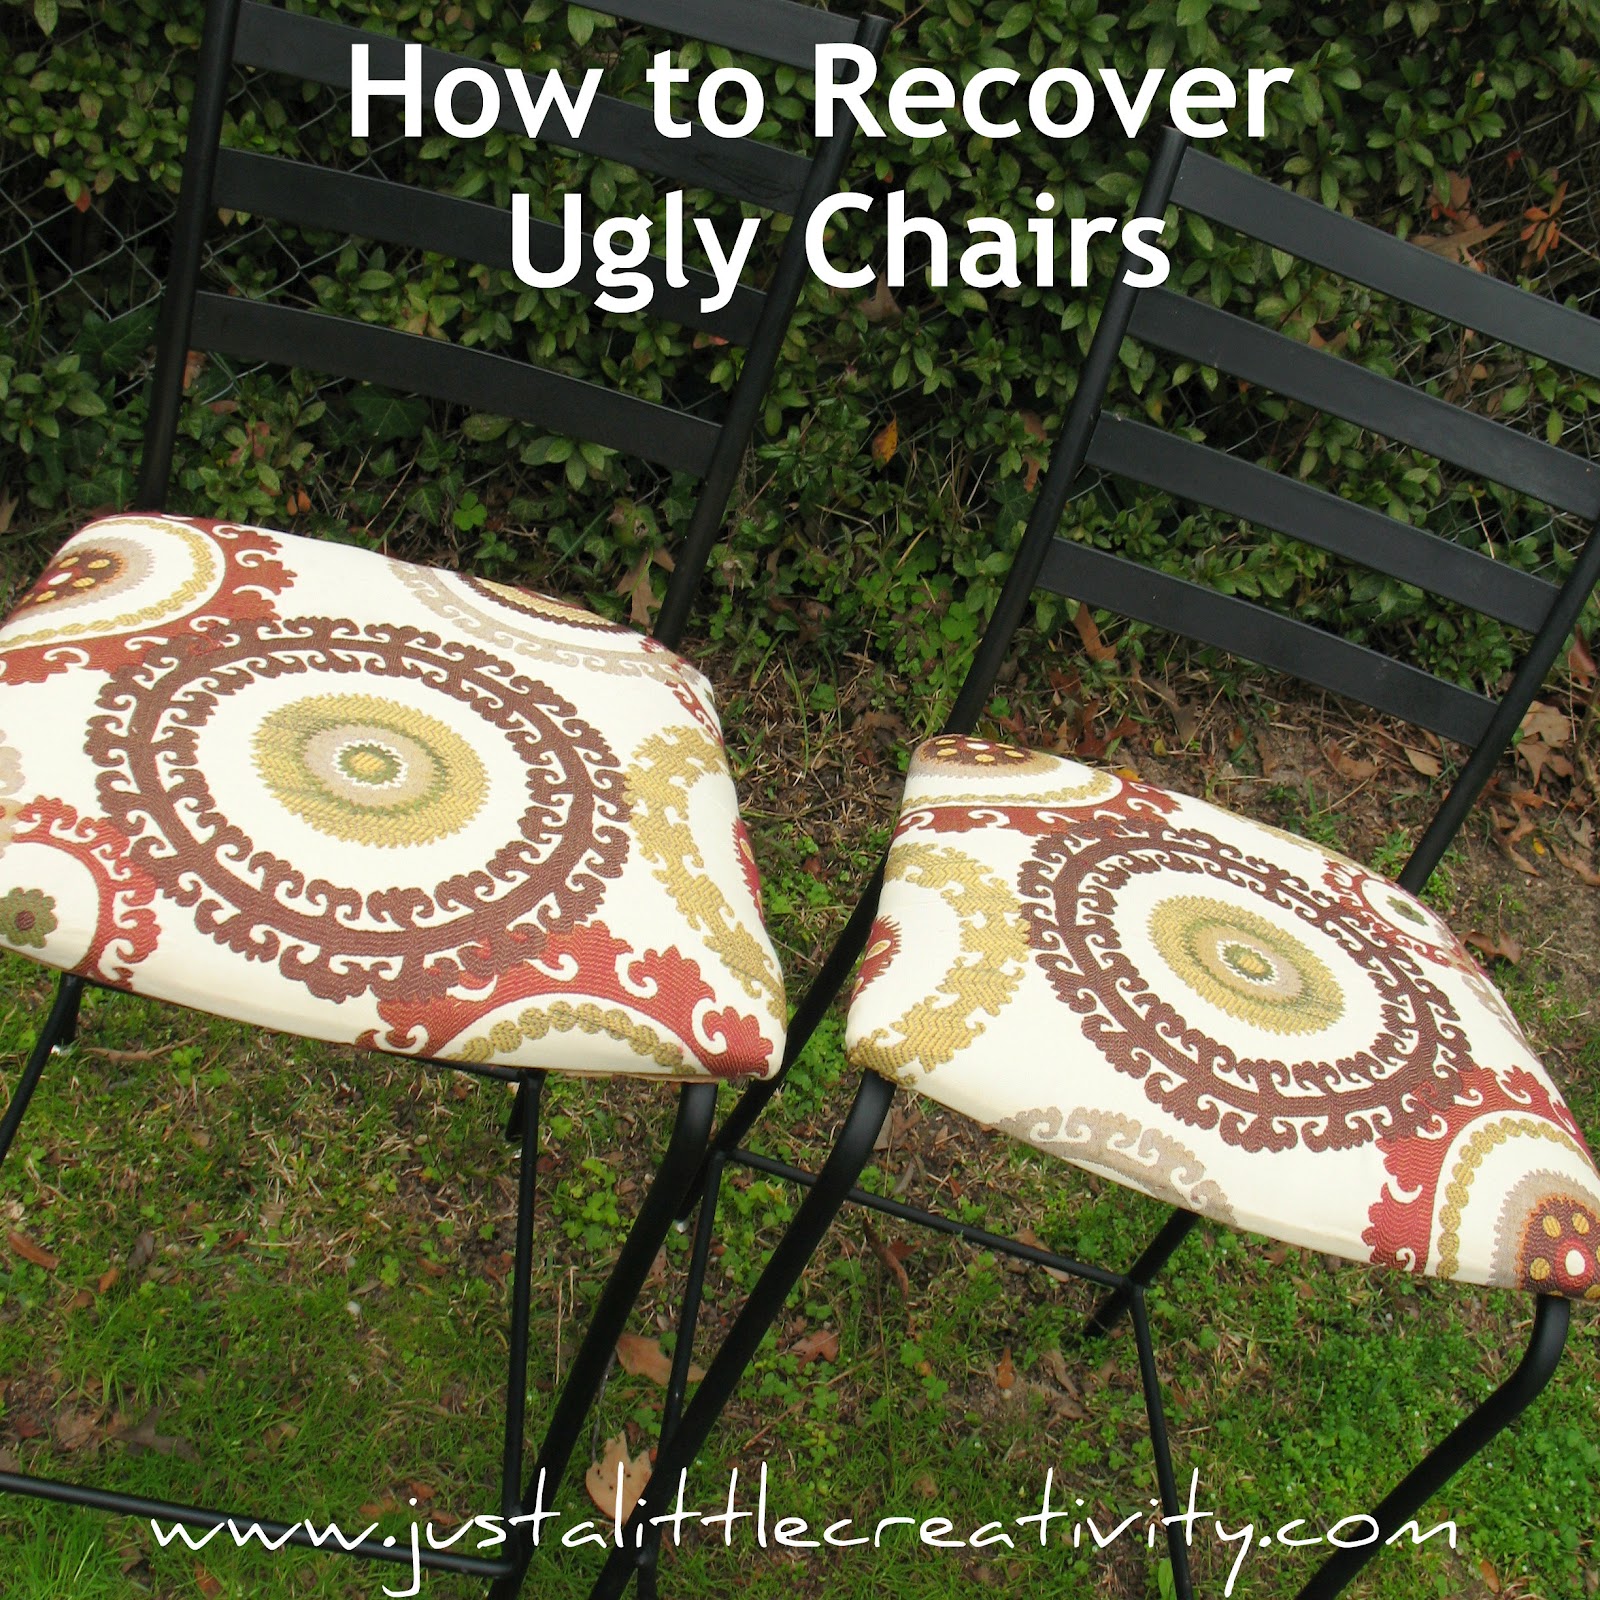
About a year ago, I bought two not very pretty, but functional barstools from a yard sale for about $5. My husband thought they were ugly, but I just knew I could recover the seats and make them beautiful.
Sadly, for a year, our ugly barstools have been well used and well loved by the fam and friends, but never have gotten the makeover I promised them. I just never found a fabric I loved. Or at least not for a price I wanted to pay.
Until yesterday!! I was a Joan’s fabrics after a quick (emphasize, quick) trip to the gym.
I had some time to kill before picking my husband up from the airport, and while I was in the remnant fabric section, there is was… a gorgeous piece of upholstery fabric, an entire yard, marked from $19.75 down to $9.44! Yes, thanks, don’t mind if I do!
And that leads us to today.
Here’s how to recover a chair seat, and make them lovely again. Anyone can do it. Really. It took me less than an hour, and the results are fantastic, and it was under $5 per chair!
Here’s the step by step…

First, find ugly chairs that you promise to make beautiful.

Next, find the perfect piece of fabric at a price you’re willing to pay. In my case, I needed at least a yard. It needed to be of good quality, but not expensive. Always check the remnant section first.

Then, flip over your chair, unscrew the bottom (don’t loose the screws). Take off any cardboard backing and save it after removing the old staples from it. Carefully remove the original ugly piece of fabric and remove old staples from it (or just be careful not to poke yourself with them).

Using the original piece of chair fabric as a template, cut your new cover. In my case, I cut two for both chairs.

Staple from one opposite side to another. For example, left center then flip to right center. Then repeat on the other two sides until you’ve worked your way around the seat. Be sure to pull tight, checking the front to make sure there are no wrinkles. When you get to a corner, you tuck and fold, like a flat bed sheet (at least that’s how I do mine. Weird?)

This is how it should look once the tuck and fold corner is stapled down:
Once it’s all finished being stapled, it should look something like this:

Re-staple the original cardboard backing, being super careful to line up the holes where the screws go. Screw the seat pad back onto the seat frame.
Finally, run outside and snap a cute pic before it starts raining on them. Then, enjoy!

Really, the results are amazing. I love these chairs. I’m considering some sort of scotch guard treatment, considering all the messy little folks that might be sitting on them during dinner.

Great job! I love them.
Lovely blog! I am your newest follower and hope you visit me as well!
http://the-w-s.blogspot.com/
oh wow they look AMAZING!
<3, New Follower
Tomorrow starts a week of giveaways on A Taste of T
Wow, you are talented! I would LOVE to try that on my bar stool i have in kitchen. We remodeled the kitchen last year and now the stool seats have stains and look old and used so i am going to attempt to try this! Wish me luck!
Wow, a job well done! We remodeled our kitchen last year and now I would like to redo my bar stool seats. there are a few stains on them too. I'm going to attempt it so wish me luck!
Hi ! I stopped by! I've been slogging my way through WAY to many steps to do furniture! I'm trying your way on my next project! A chair for our brand new downstairs ( LONG TIME NEEDED) bathroom! Come see me at Raven Hessheimer on Facebook!