
As I was recently browsing a few of my favorite design stores for holiday decorating inspiration, I came across these Pottery Barn Woodland Animals Place Card Holders, set of six for $35.50
I’m loving the woodland animals trend right now, but as you know I’m often up for a knock-off challenge. I knew that I could make something similar to these card holders but at a fraction of the cost.
I did, it was super easy, and I’m going to share with you how so you can make your own. Or you can spend a lot more for the ones at Pottery Barn, but these might be a bit more fun and rewarding!

Supplies-
Plastic woodland animals
Krylon Metallic Gold spray paint
Small wood circles or ovals
Exacto knife
Hot glue gun
Craft pliers

First, hold the head of the animal with the pliers and keep your hand out of the way. Please, don’t write to me and tell me you cut your finger off.
Holding the animal steady, cut a slice into the back of the animal. This will take a bit of muscle strength, but don’t give up. The ones I used were hollow on the inside, so once you get past that outer part it’s easier.
Don’t cut them into two pieces, just cut the slit about halfway down.
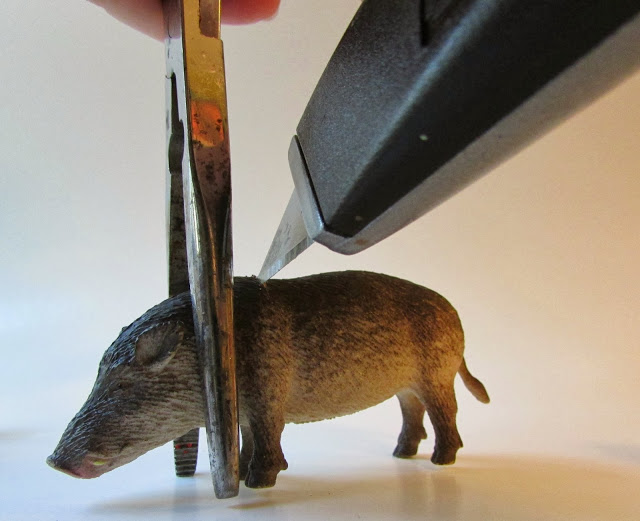
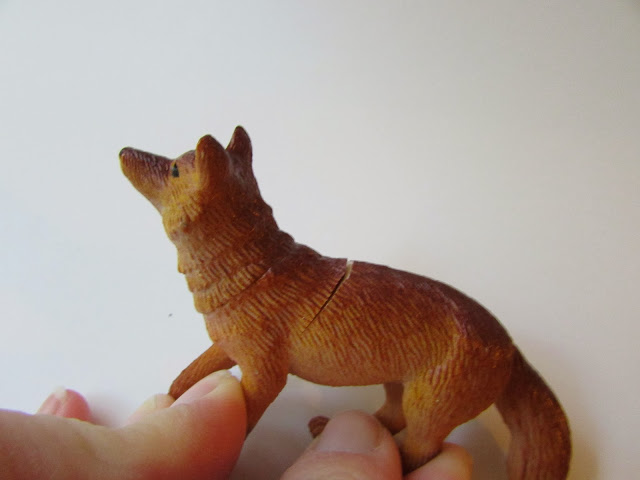
Next, hot glue the feet of the animal onto the wood circle. At first I tried super glue, which didn’t work at all. Hot glue was my Plan B, but it ended up working like a charm.
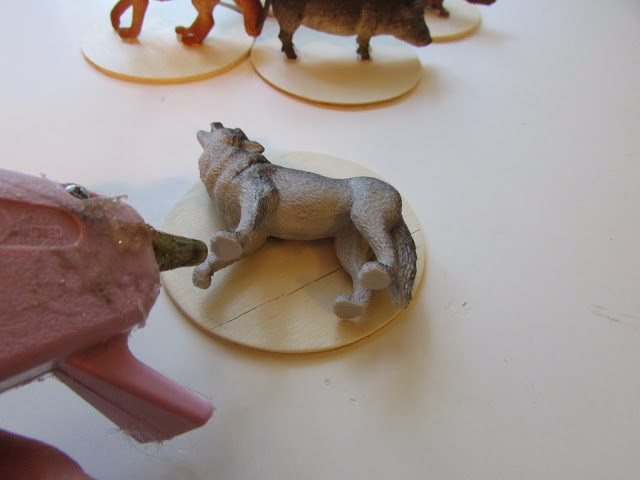
Say this with me “Gold spray paint is my friend”
Okay really, it is. I love it.
Next step, take the animals outdoors or in a well ventilated area and spray away. I used two coats.
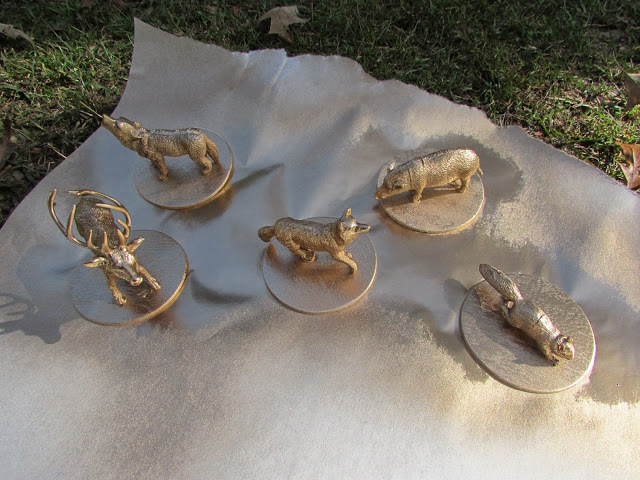
Last is the best part. Decide what type of card you’d like your animals to hold. I printed a lot of different things onto white card stock.
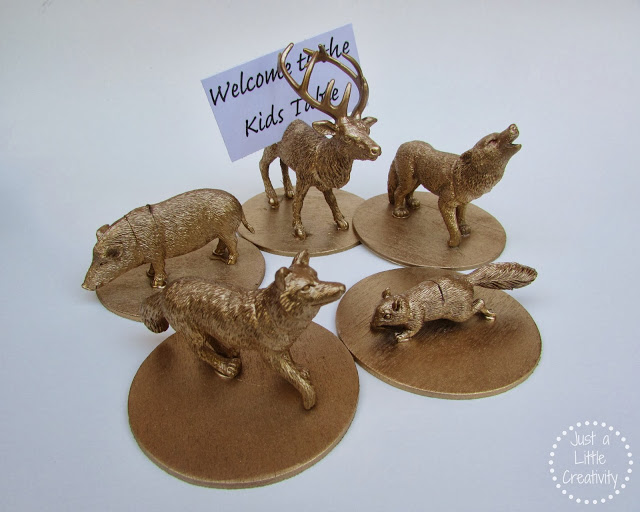

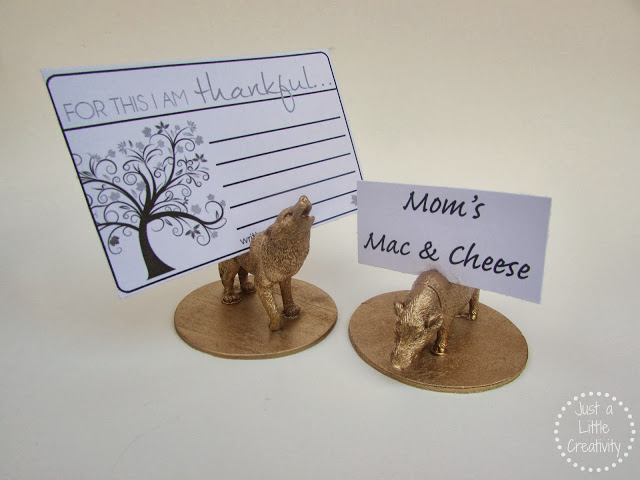
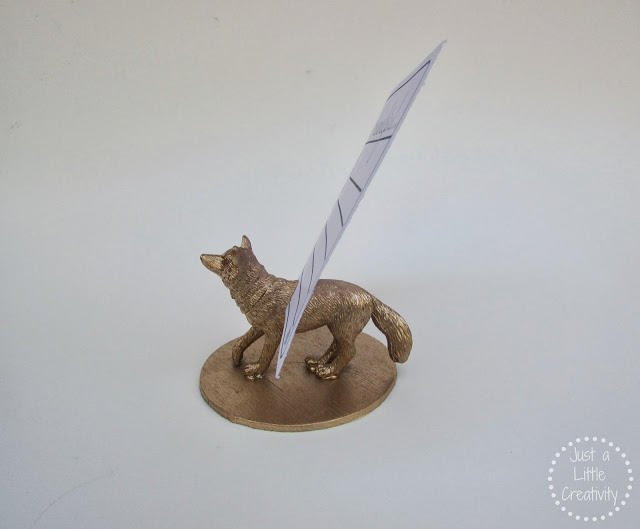
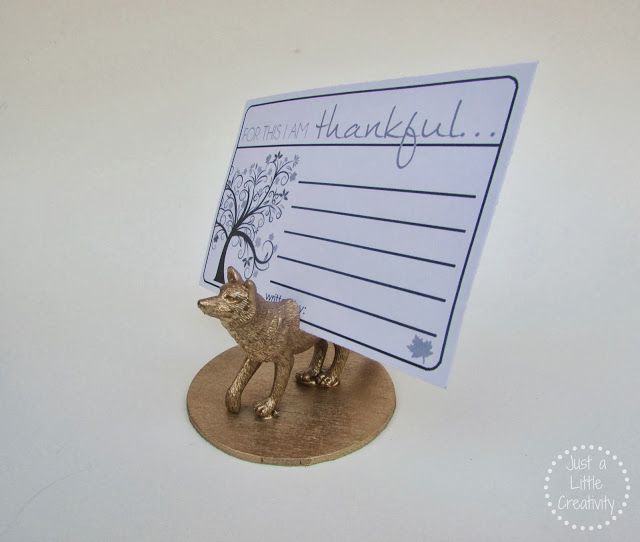
I’ll be using ours as part of our Thanksgiving decor. I printed a few of these FREE Thankful Printable Cards from Home Philosophy, and I think I’ll put one in each animal and let the kids fill them out. You could also use them as name cards, recipe holders, photos, table numbers, etc.
Enjoy!
For More Pretty Fall Decor, Check Out These Other Ideas:
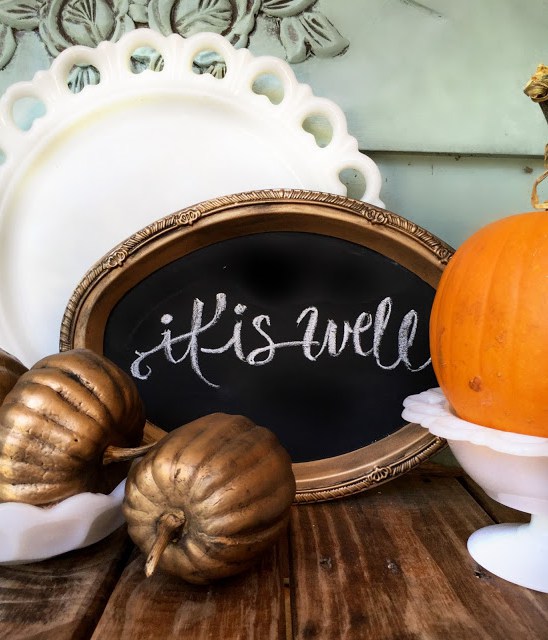
How to Create Faux Gold Patina for Your Fall Decor

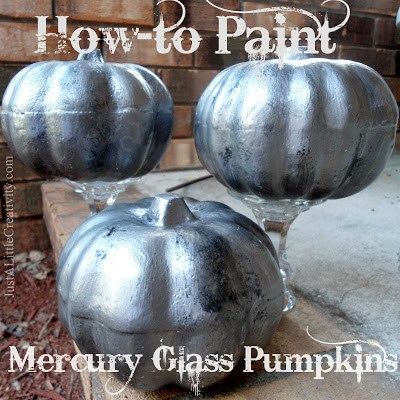
How to Paint Faux Mercury Glass Pumpkins

Wow – I like yours better! I think they look better more goldy. Thanks for the great DIY!!
Lovely! They look so costly!
I so love gold spray paint too! I find myself looking around my house for things I can give new life to with a little spray paint. I love this idea! Thanks for sharing. I am visiting from Flaunt It Friday.
Carrie Swenson
These are amazing! I'm having a nature/woodsy theme for my DIY backyard wedding and these would be great! I'm hosting a link party and would love for you to link up at http://ihearthandson.blogspot.ca/2013/11/show-off-friday-no-5-plus-features.html
Have a great weekend!
This made me laugh, but in a good way, I couldn't help but think of these animals undergoing surgery! I know, a bit of a twisted sense of humor. 😉 Very creative, clever idea. Visiting via "SerenitySaturday" link up (I'm #84)
These are so stinking cute! Great Knock off!
I had not noticed this trend but I really do like your version.
I seriously LOVE these! Sharing on FB! Thanks for linking them up at Monday Funday!
These are awesome. I love them and can't wait to try this myself! Oh, the possibilities!
Really clever and I prefer yours to the originals;) You already know you've been featured at this week's link party, but be sure to grab a Featured On button to toot your horn. Thanks for linking to the Craftastic Monday party at Sew Can Do!
Love these! I made these in 2014 for my sister’s baby shower (metallic silver) and then repainted them for my daughter’s birthday party last year (metallic gold)!
I’m sharing about my daughter’s birthday party in a few days on my blog! Thanks for the great tutorial!