
Have you seen the unfinished paper mache letters at the craft stores but wondered exactly what you would do with them?
I’ve made them over a few different ways, one of my most popular tutorials I’ve shared here has been for the DIY Metal Salvage Marquee Letter I made for Christmas, you can find that tutorial HERE.

This time, I’m going to show you how I turned these into solid faux metal letters with rounded nail heads.
As part of the boys room makeover, I gave their paper mache initial letters a facelift. They’ve had these in their room for years, and the only thing I ever did with them when I first brought them home was to paint them brown. And that’s fine, but it was time for a change.
This is one of the easiest ways to decorate these letters, and though it may be a little time consuming, the results are pretty great. And lets face it, making things cool for a boys room isn’t always easy.

Okay, so about those round metal nail heads. These letters are hollow on the inside, so you probably shouldn’t really nail anything into them. I guess you could, but because it was in a kids room, I didn’t want to take the chance of one falling out and begin stepped on.
Instead, to keep it child friendly, you know what I used? Hot glue. Yep, that’s it.
Using my hot glue gun, evenly space little dots of glue around the entire letter. I didn’t measure, just eyeballed it.

If you’ve ever hot glued anything, or tried to make perfect little round dots, you’ll probably already know that it’s almost impossible to do without leaving a little trail of glue and those pesky spiderwebs of glue strings.
My tip is to use a small razor or the edge of scissors to just slice the imperfections off.
Another hint, you can use a warm blow dryer and it will basically melt those spiderwebs away.

The results are a much cleaner little round glue dot. You may have to repeat the blow dryer trick a time or two before you get all the little strings off, but trust me, they’ll disappear.

To make them silver, one of my go-to spray paints for anything metallic is Krylon MAXX. I love the coverage this particular brand gives, and usually only one coat will do the trick.


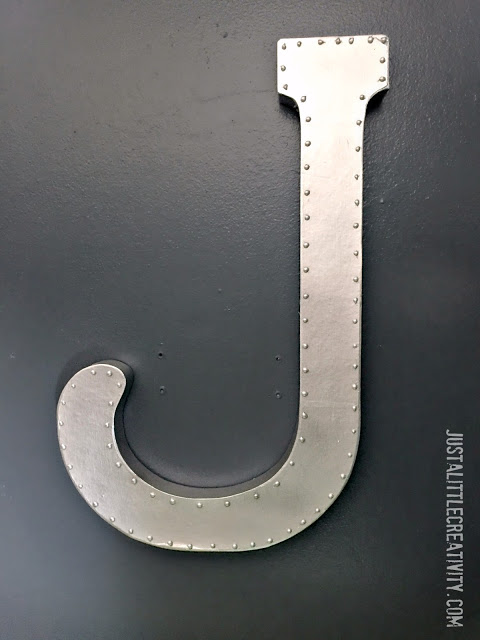
Thats it.
I hung them on the wall with a little nail and the original plastic hanger they came with. I think a command hook would work well also.
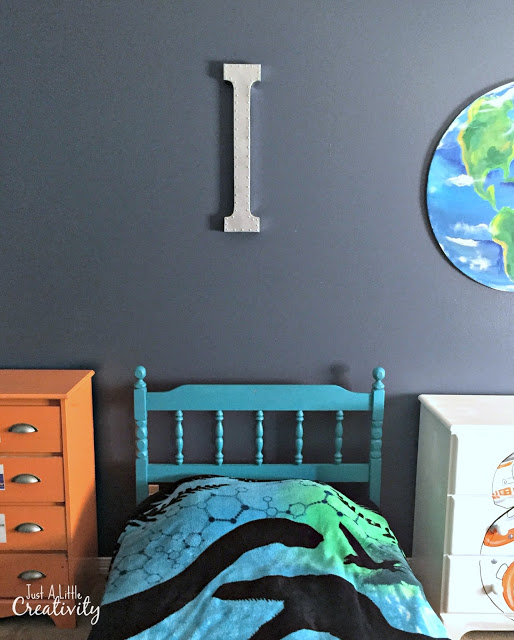

Just CLICK HERE to see the Boys Room Makeover Part One- How I upcycled a $1 garage sale find into Planet Earth wall art.





Ok, so you totally had me fooled. I had no idea these were not real metal letters. Great project! Pinning! Thanks for sharing at Merry Monday!
Great tutorial! Liquid Glass from Decoart would work too. Makes perfect, round beads and when dry, spray paint over. Holly 🙂