• Facebook
  • Instagram
  • Pinterest
  • Twitter
  • YouTube
  • Skip to primary navigation
  • Skip to main content
  • Skip to footer

Painted Furniture, Makeovers and Upcycle Projects, DIY Home Decor and Crafts, and Recipes

  • About
  • Creative Inspiration
    • Furniture Makeovers
    • Thrift Store Makeovers
    • Tips & Ideas
    • Home Decor
    • Spring & Summer
      • Valentines
      • Easter
      • Other Holidays & Fun
    • Fall & Winter
      • Christmas
      • Thanksgiving
      • Costumes & Halloween
    • Creative Kids
      • Crafts
    • Party Ideas
    • Free Printables
  • Recipes
    • Breakfast
    • Dinner
    • Sides
    • Crock Pot & Soups
    • Desserts
    • Beverages
  • Shop
    • Etsy
    • Amazon
  • Privacy Policy
    • PR/Disclosure

DIY Santa and Mrs. Claus Waldorf Style Christmas Dolls

December 14, 2017 by Molly

Santa and Mrs Clause Waldorf style dolls DIY

I just love the simplicity of Waldorf style dolls. I’ve created and shared many peg people doll tutorials here on the blog, but they’re usually more detailed than this set of Mr & Mrs Claus. I originally shared this tutorial last year as a member of the Creative Team at A Glimpse Inside blog, but wanted to make sure you all got a chance to check out the tutorial here as well this year.

This little pair would make great stocking stuffers, ornaments, or elements of a pretty retro or rustic Christmas styled vignette this year. And, if you want, the kiddos can even help a but with the more simple steps.

How to Create Waldorf Style Christmas Dolls
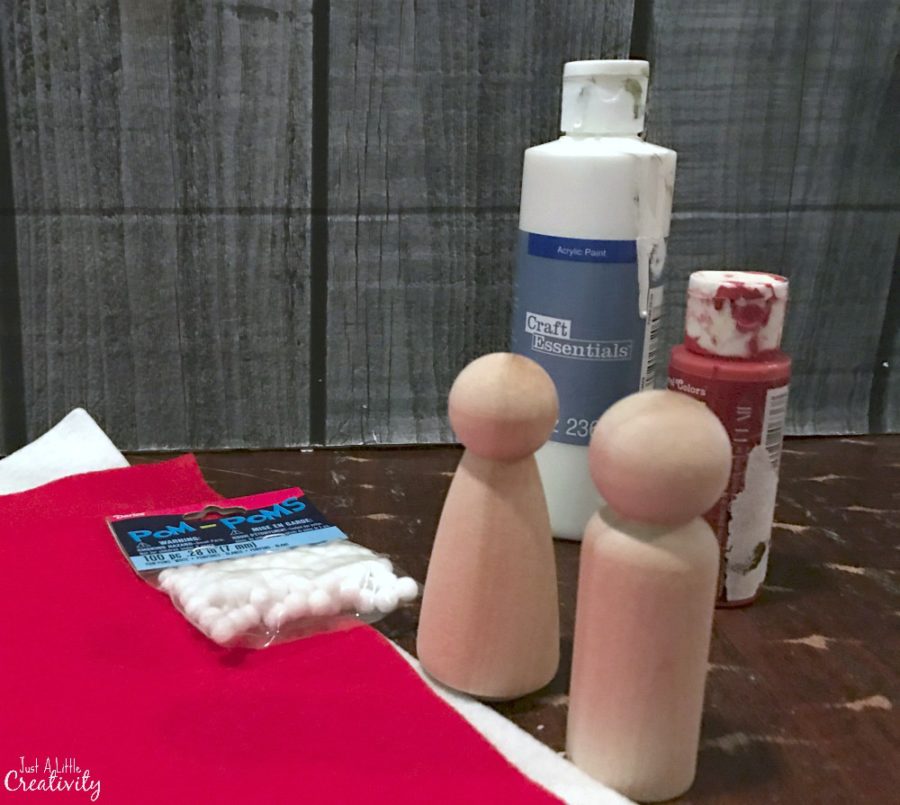
Waldorf style Christmas dolls supplies

Supplies:

Peg doll girl
Peg doll boy
White felt
Red felt
Tiny white pom poms
Hot glue & gun
Scissors
Red craft paint
White craft paint

Directions:

First, paint the dolls. The boy is red, the girl is white

Next, cut the two stocking caps and Mrs. Claus’ cape from the red felt.

For the caps, a simple triangle is what you’ll need to cut, and a circle with the top sliced off for her cape.

Then, cut the white felt to trim the hats and to trim the cape, and glue them in place.
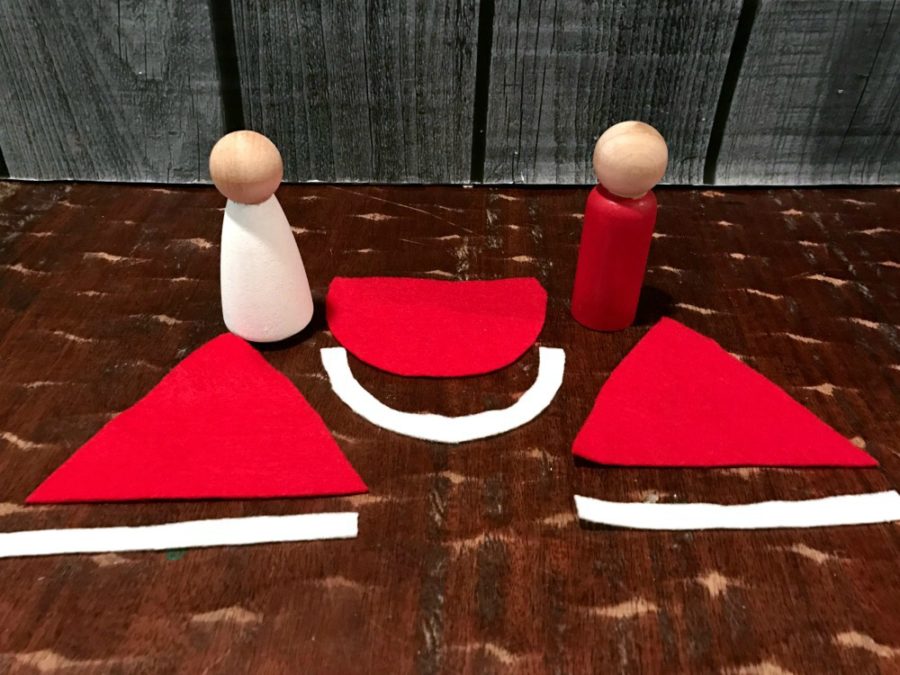
Waldorf felt costume patterns

When the paint is dry, simply hot glue the accessories on.

For Mrs. Claus’ cape, fold down the top half of the circle where you cut it off, this creates a nice little cuff. Then wrap the cape around her body, and hot glue in place.

For the caps, wrap them around the doll heads, keeping them low over the face.

Glue one side on the back, continue wrapping the other side around tightly, and glue in place.
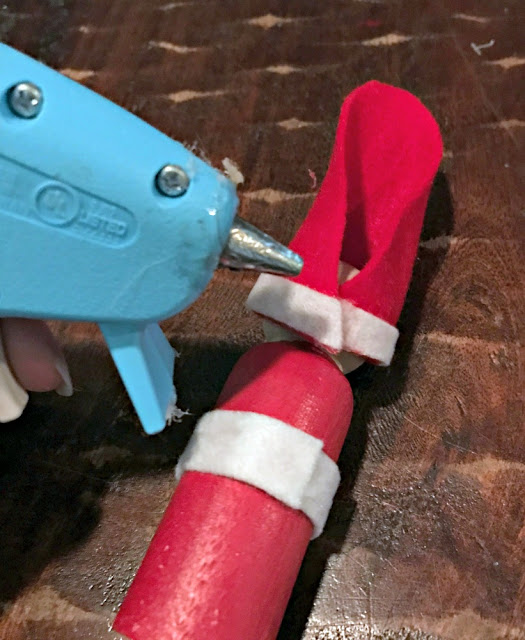
glue waldorf Christmas hat

Then to make the point, fold down one side of the hat from top to the doll head and place a line of hot glue, and glue the other side down over it.
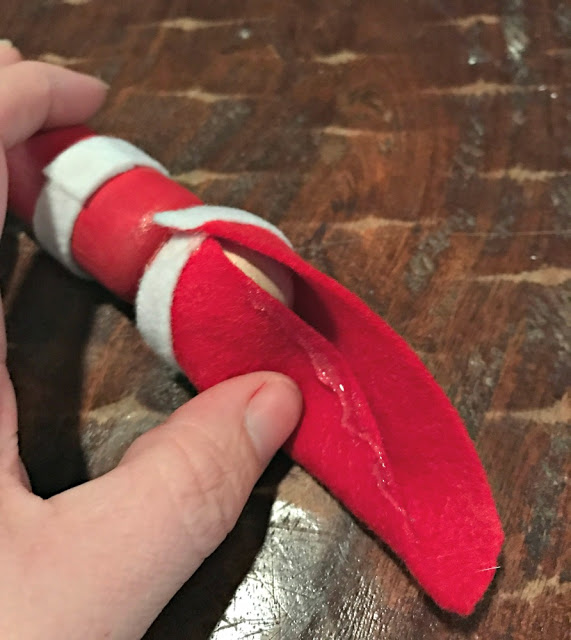
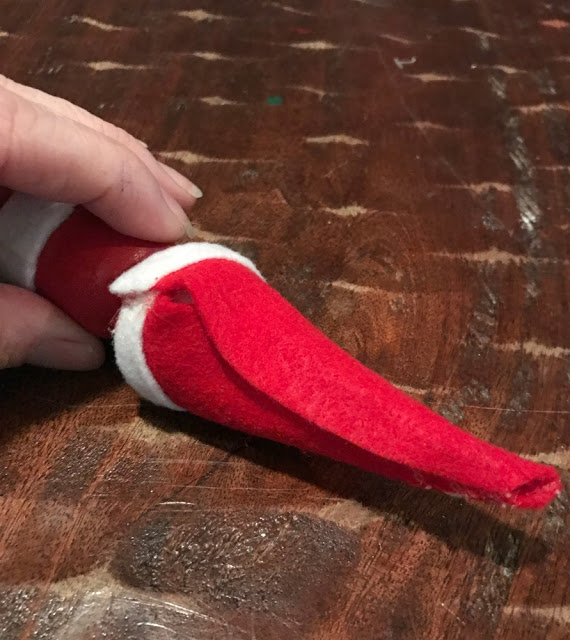
glue waldorf Christmas hat 2

glue waldorf Christmas hat 3

Last, hot glue the white pom pom.

The caps are cute sticking straight up, but if you don’t want it that way, fold it over & glue it down.
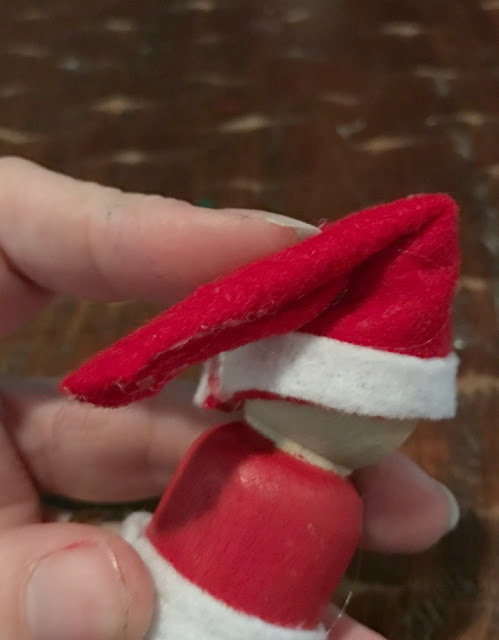
glue waldorf Christmas hat 4

You can make these into ornaments by adding a ribbon to the backs of the dolls.
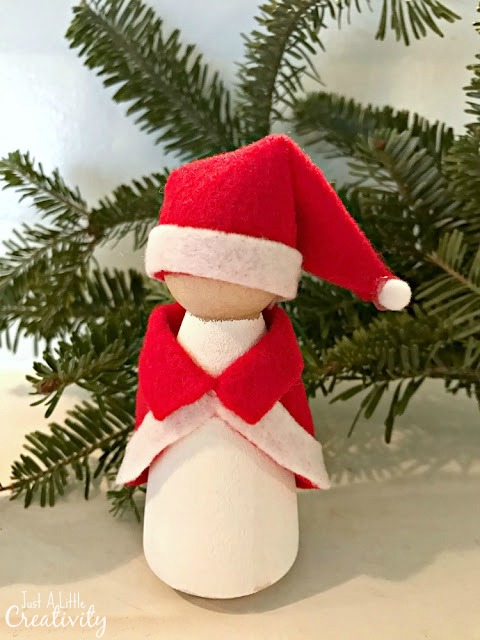
DIY Mrs Claus Waldorf doll

Using this same technique and a variety of colors, you could easily create a whole village of Christmas elves to go along with Mr. & Mrs. Claus.
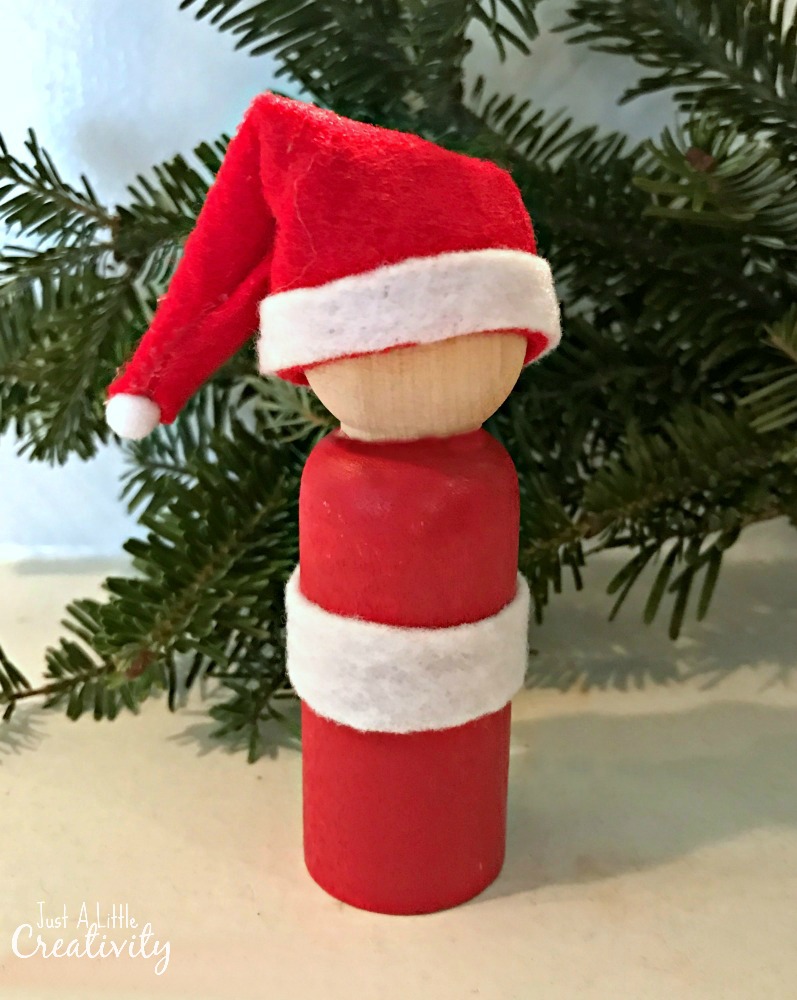
DIY Santa Claus Waldorf doll

See, I told you they’re simple!

Mr & Mrs Claus Waldorf style dolls DIY

If you like these Christmas dolls, you may enjoy these other peg people tutorials as well:
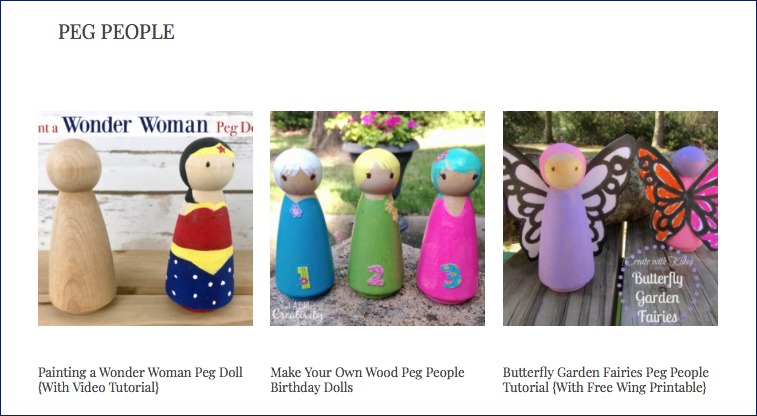
for more peg people tutorials click here


SaveSave

SaveSaveSaveSave

SaveSave

SaveSave

Share this:

  • Share on X (Opens in new window) X
  • Share on Facebook (Opens in new window) Facebook
  • Share on Pinterest (Opens in new window) Pinterest

Related

Filed Under: Christmas, Creative Inspiration, Fall & Winter Tagged With: christmas, Creative Inspiration, DIY, peg people

Previous Post: « It’s Time Again for Elf on The Shelf! Ringo Bells 2017
Next Post: 10 Free Beautiful & Unique 2018 Calendars »

Reader Interactions

Comments

  1. STEPHANIE says

    December 19, 2017 at 4:59 am

    Those little dolls are too cute. I bet kids would love making dolls like that too. We’ll have to get some. Thanks for sharing at our link party!

Footer

© Just A Little Creativity, 2010-2025

If you’d like to feature one of my projects or posts, one photo may be used, provided that full and clear credit is given to Just A Little Creativity with appropriate and specific follow direction to the original content.
Unauthorized use and/or duplication of this material without express and written permission from this blog’s author and/or owner is strictly prohibited.

Just a Little Creativity is a participant in the Amazon Services LLC Associates Program, an affiliate advertising program designed to provide a means for sites to earn advertising fees by advertising and linking to Amazon.com


Copyright © 2026 · Foodie Pro Theme by Shay Bocks · Built on the Genesis Framework · Powered by WordPress