
Rubbed paint is a simple technique to distress painted wood items. It give the piece a worn, weathered, antique look.
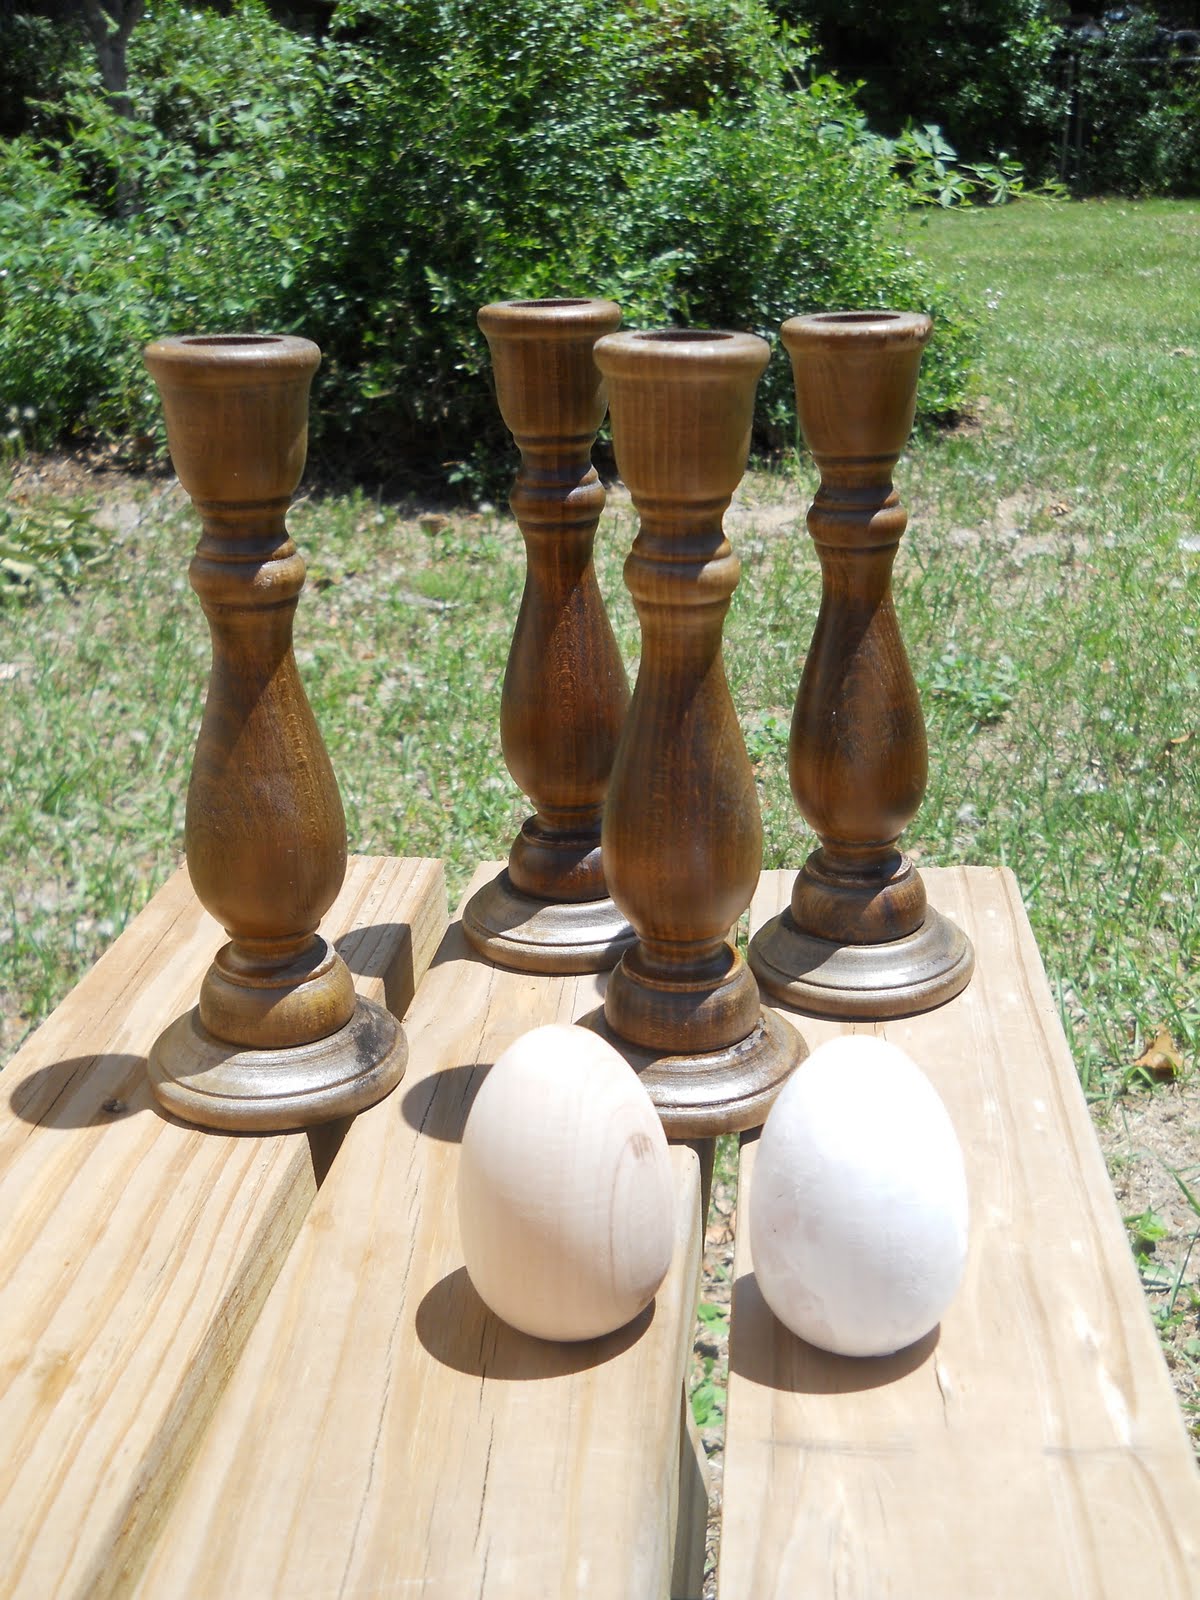
I found these four wooden candlesticks at a Goodwill for about a quarter each (the eggs were a different project)
First, I primed them with a white primer. I have a very love/hate relationship with primer. It always feels like an extra step, but it’s completely worth it in the end.
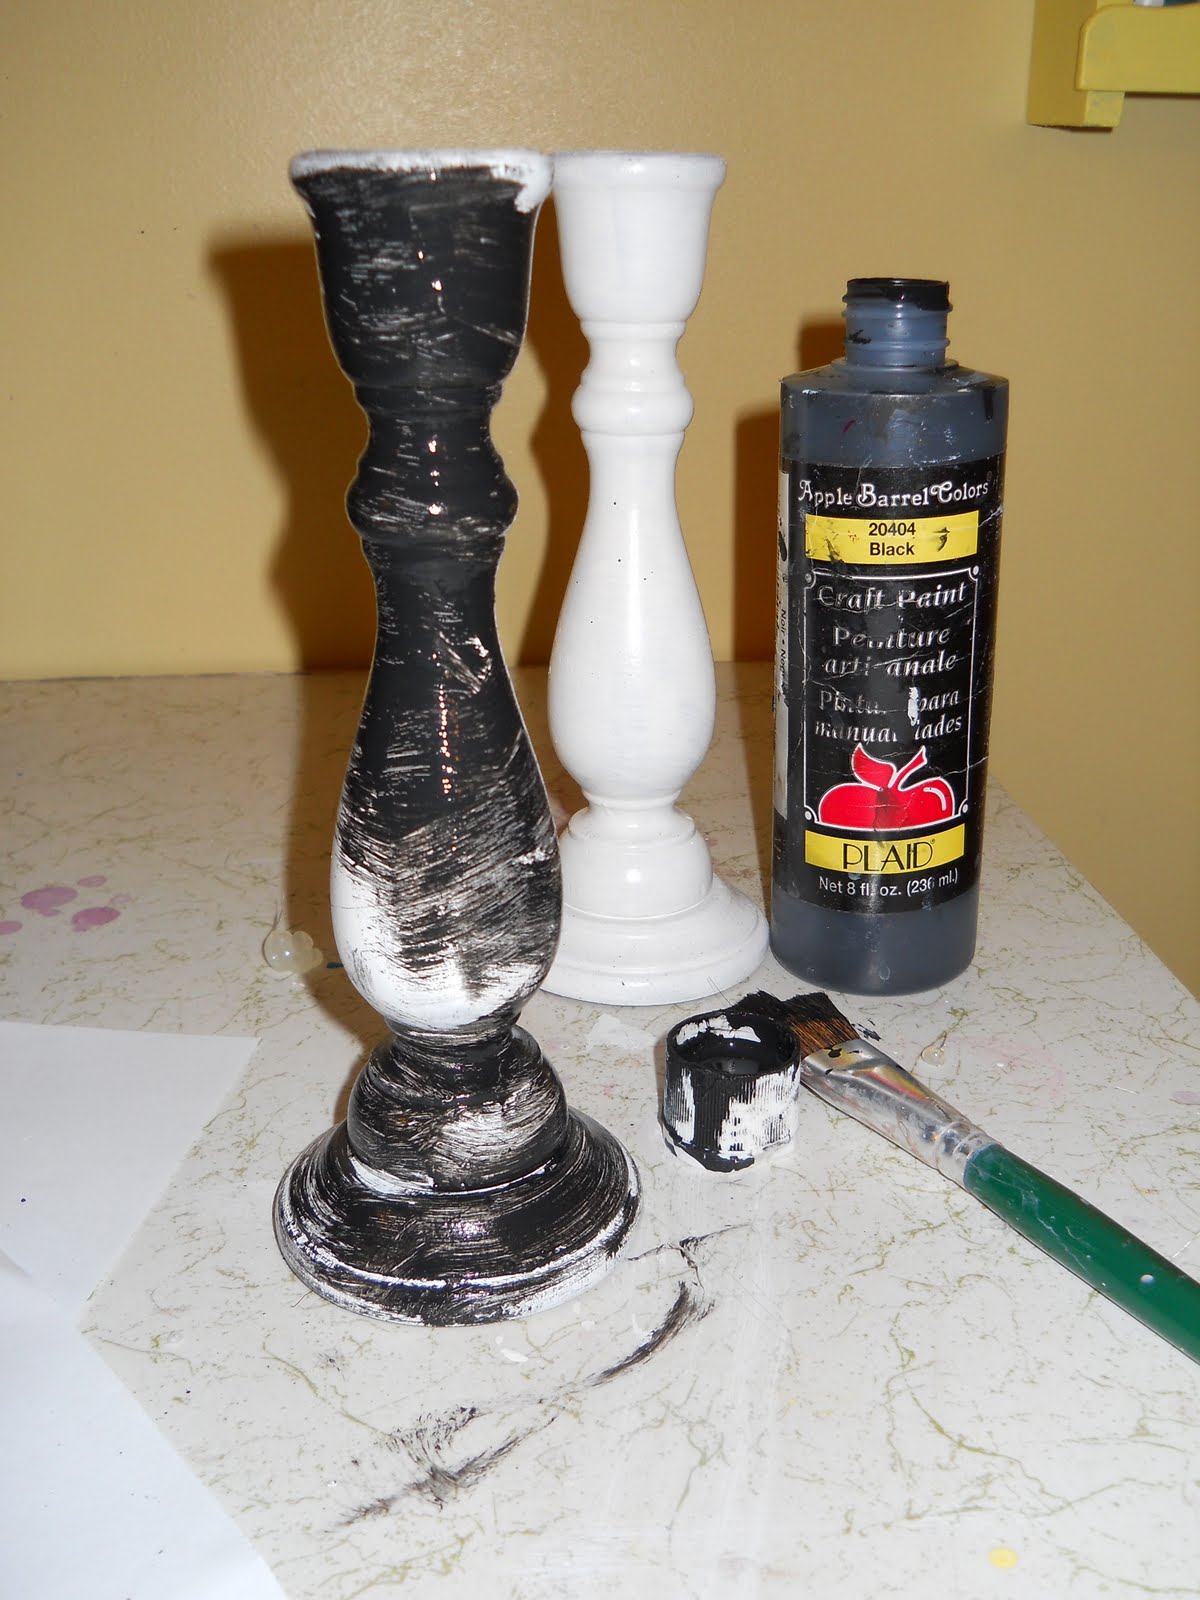
When the primer is dry, paint your piece with whatever color you’d like. I had some extra white trim paint, so I went with that. I recommend a light base color, and a darker color for distressing.
I used a regular black craft paint. I didn’t water it down at all, but you could if you feel like it’s too thick. I loosely painted over the lighter color with the darker, being sure to get it in the crevices.

While the black paint was still wet, I took a very slightly damp paper towel, and literally wiped it off. It left black in the nooks and crannys, and gave a bit of an overall glaze to the candlestick. If you rub too much off, no worries, just add a bit more dark paint and try again.
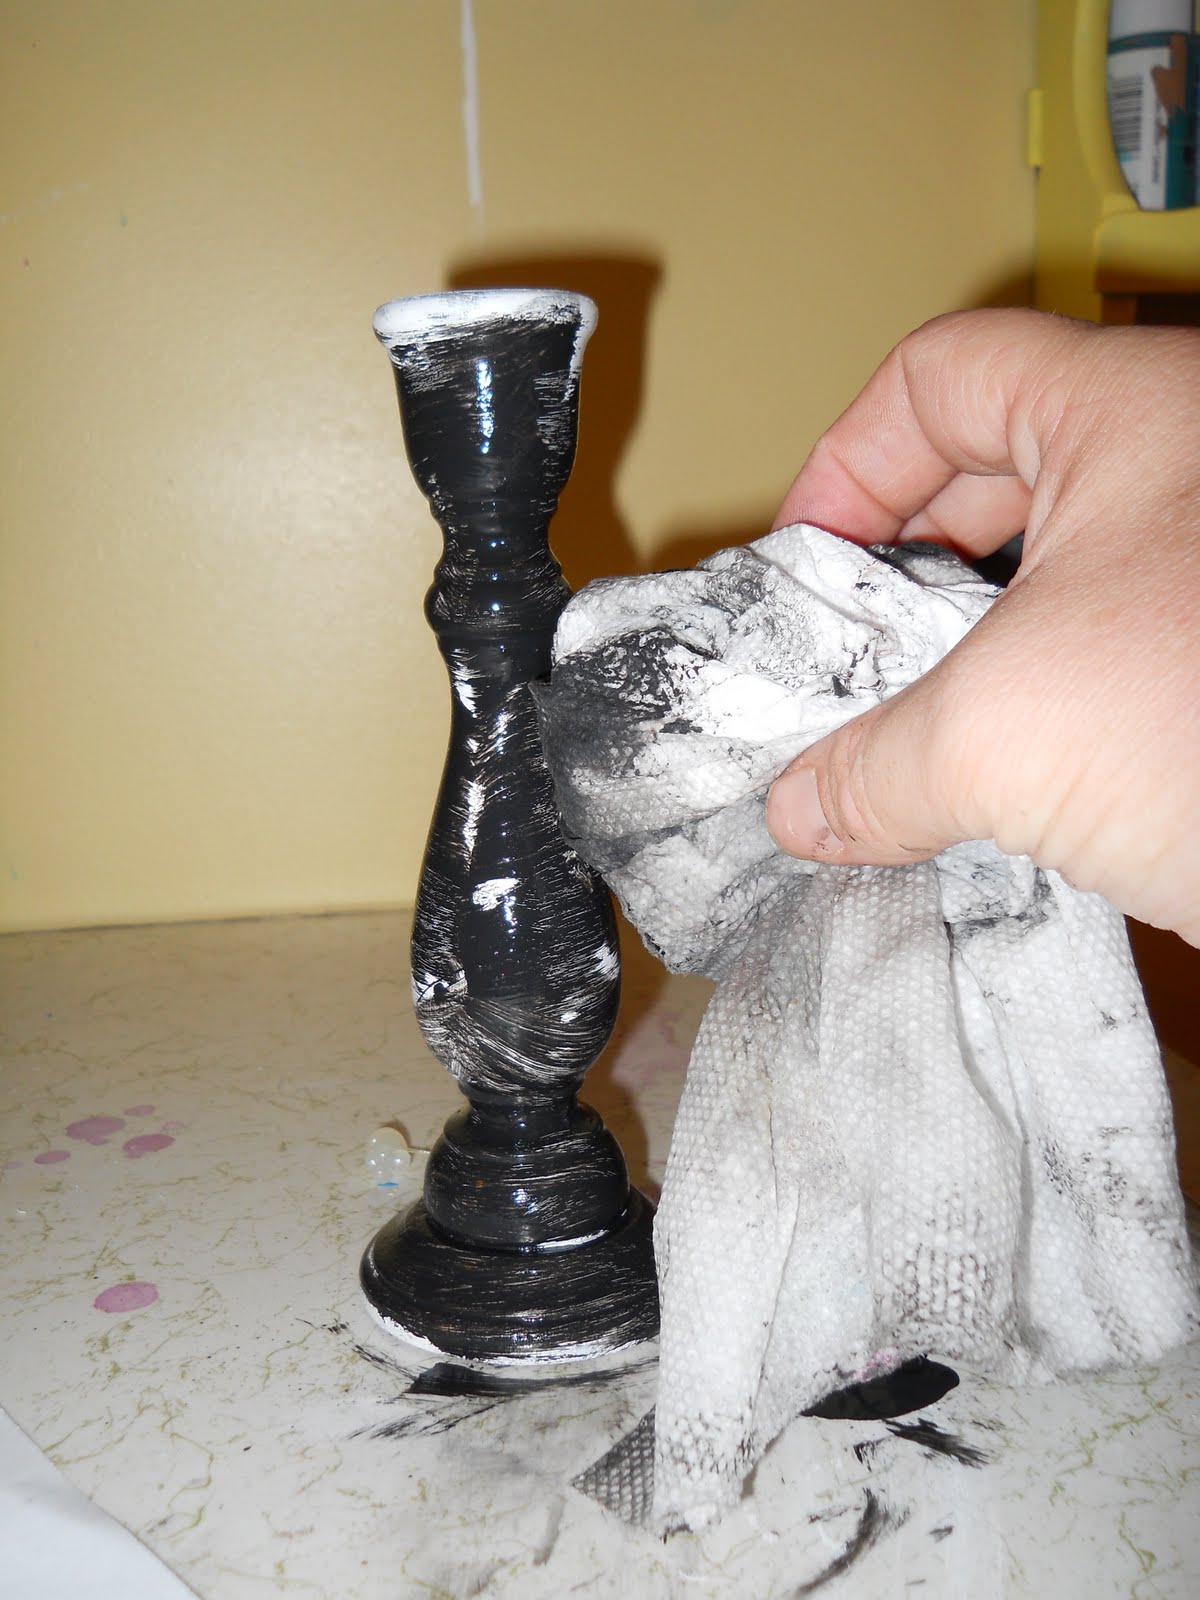
You will need to work a bit quickly before it dries, and if you’re doing a large piece, just do one section at a time.

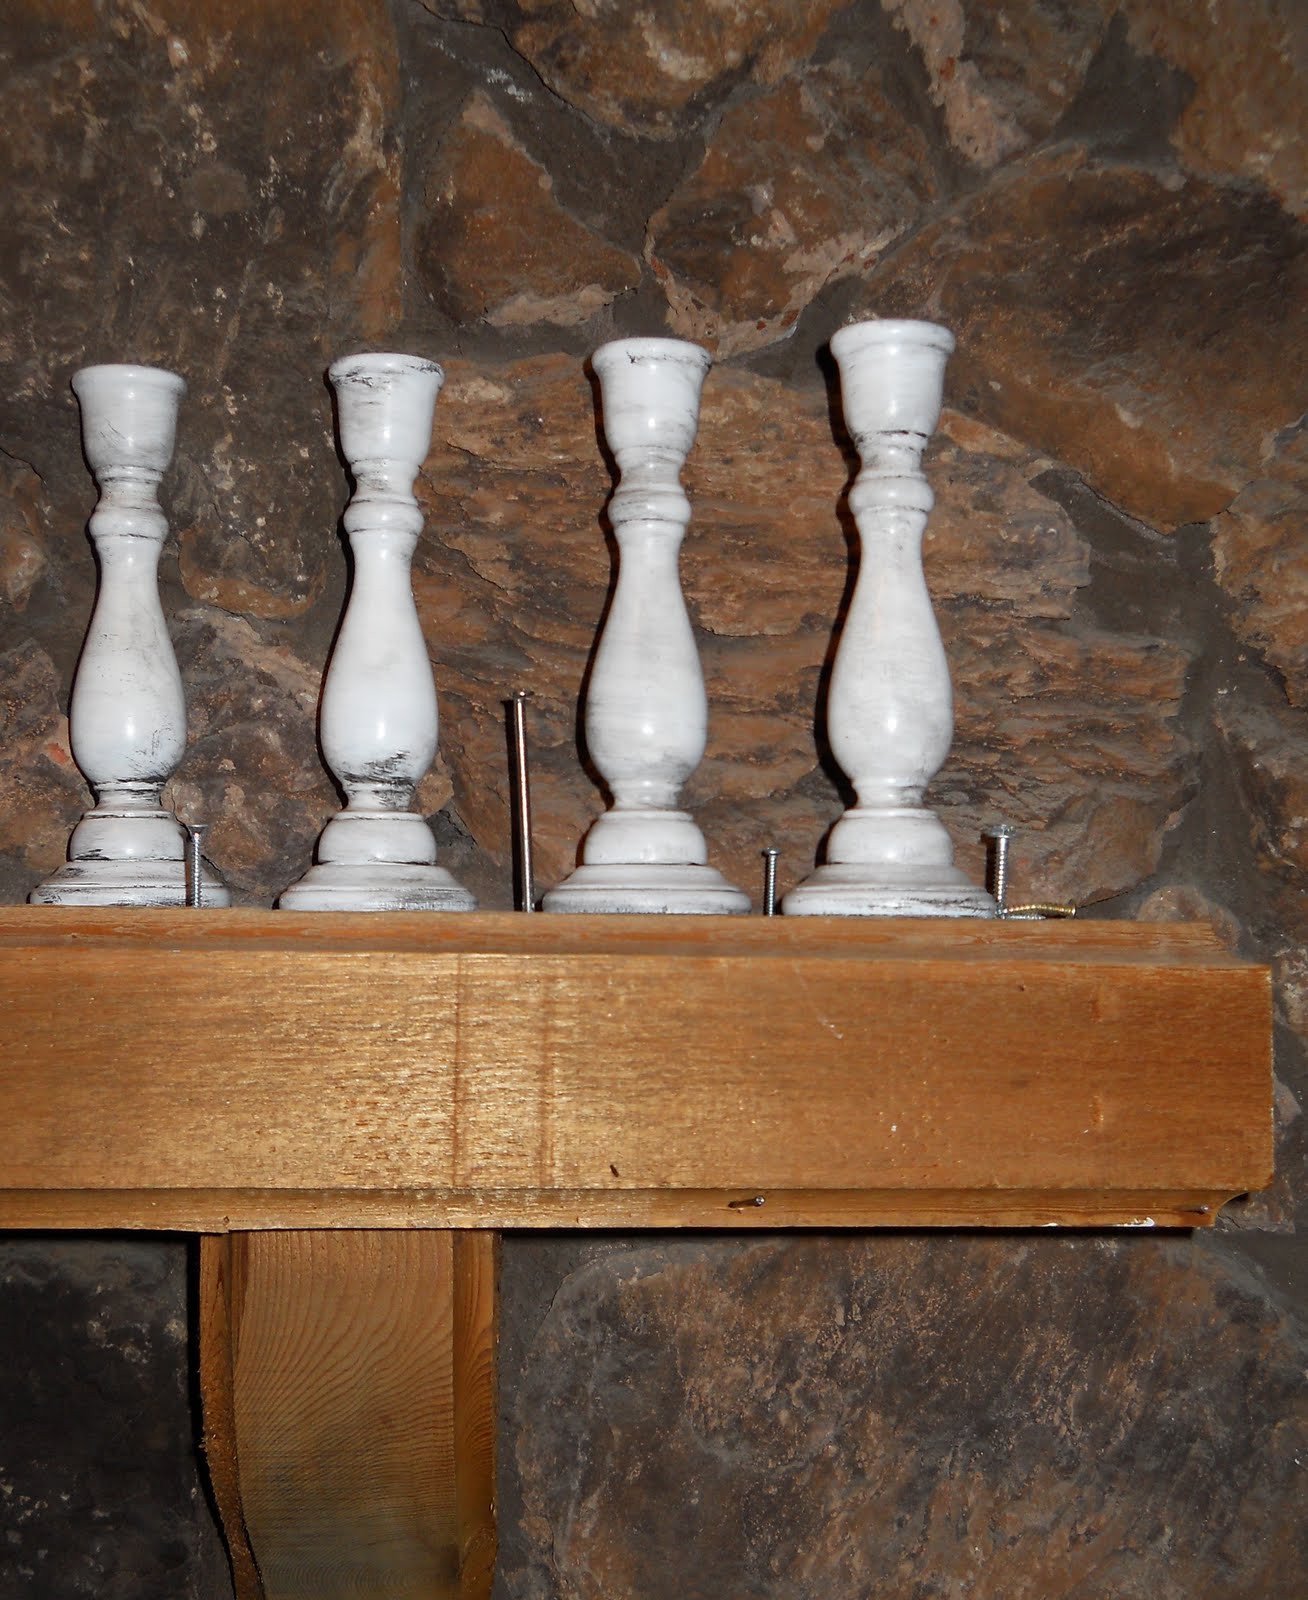
In the end, these look like they came from an old house in the middle of a prairie somewhere. They look like they have a story to tell. And, in a way, I suppose they do.

I like that nice job!
Your banner is just awesome. I love the candle sticks. New follower from Tuesdays blog hop. Hope you follow back.
Have a great week.
This post made me smile. Thanks for inspiring me and many others to even attempt this feat. Really appreciate that you linked up at the Creative Bloggers' Party & Hop.
You did an excellent job fixing up these candlesticks! I love the lighter color on them a lot better too! Thanks for sharing it on "Creative Bloggers' Party and Hop".
From this week's party co-host:
Jacque @ Jacque's Soda Parlor
thesodaparlor.blogspot.com
Love these! I'm obsessed with candlesticks…so fun!
Lina
Excellent tutorial. Thanks. I can think of several projects I could use this technique on.
I've always wondered how to do this technique, so THANKS for sharing! I am going to add this to my 'to-do' list!
By the way, I am hosting my very FIRST link party and I would love to have you link this to it–
http://southernlovely.blogspot.com/2011/08/show-share-1.html
Oh, so that's how it's done. Super thanks for sharing. I should try this soon. Nice!
Just found your blog today! Tried this technique today on 2 wooden candlesticks I found @ Goodwill and they turned out great! Not quite as good as yours but I'll definitely be doing more. Thanks so much!